The simple plantbot is based on a transistor circuit. In theory it could be possible to modulate the the flow of electricity to the motors through the photocells and transistor circuit alone. (no microcontroller, no code). I’ve gotten it to work to turn on and off a light, (you can find examples inside cheap automatic nightlights, which turn on automatically in darkness). However, for motor control I ultimately found it more reliable to use an Arduino, so the instructions below are for that version.
It is quite a simple design, and you are welcome to improve upon it! At the end of the list you will also find a video which shows some of the process.
1. Supplies for making 1 robot:
-A material for a base, I used a recycled fan structure
-2 DC motors with wheel attachments. I used these: Motor Wheels
-Caster, or extra wheel for stability that does not need to be powered
– 2 NPN transistors, I used these
– 2 Diodes
– 2 photo cells
– 2 470 ohm resistors
-For Sunbot, 2 10k resistors, for Shade bot, 2 additional 470 ohm resistors
-Blank perfboard
-jumper wires
-Arduino
-power source for motors (I used 4 AA)
-power source for Arduino (I used a solar panel, with a lipo and this board to help charge it)
-A plant that likes the sun!
2. Make the circuit:
-You may want to test it on a breadboard first, but you should eventually solder to make it stable. I soldered to blank perfboard, which was a little annoying. Etch traces into a circuit board if you want a tidier result. (Tutorial for Etching)
– The circuit for the photocell is a little different on Sunbot from Shadebot. Sunbot uses a 10k resistor between one photocell leg and power. Shadebot uses a 470 ohm resistor between one photocell leg and ground.


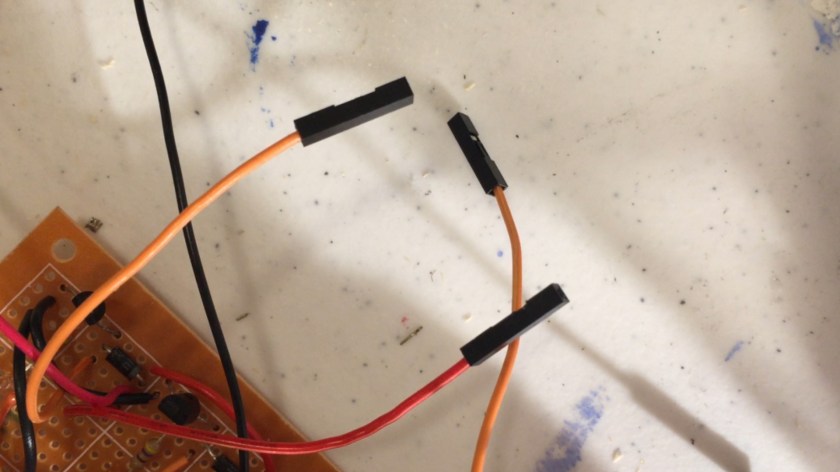
-I soldered on long male and female jumper wires for the parts that need to plug into the Arduino and Motors, so that everything can disconnect if necessary. You need 2 jumpers going from the photocells to A0 and A1, 2 jumpers going from the transistors to digital pins on Arduino to control motors (I used 6 and 9), 1 jumper going to ground on Arduino, 1 jumper going to 5V to power photocells. You also need 4 jumpers to go to the DC motors from the diode, which will give it power.
These images aren’t great but the annotated video at end of post shows more detail.


-I soldered the 6V battery pack leads directly to the board, remember to connect the ground to the ground that will go to Arduino. I always power motors separately when I’m using a micro controller, but you can try powering everything from Arduino directly. Soldering jumper wire connectors to the PCB are helpful to make things removable.
3. Make the base:
-I kept my base really simple! I had to solder long wires onto the DC motors, I added male jumper pins to ends so the could plug nicely into the jumpers coming off my PCB
-I used a piece of acrylic across the bottom of the fan because it was curved, and I wanted my motors to sit flat. I hot glued the motors and casters to the base.
-I lined it with fabric to prevent the circuit board from making contact with metal fan base.

4. Upload code:
-I recommend testing without a plant! Upload the code to the Arduino, and leave the bot plugged into the computer. (This is when separate power supply is useful. I simply turned motor battery pack off so I wouldn’t have annoying wheels spinning)
The links will take you to dropbox, where you can download the code, you may be asked to log in but you don’t have to:
Shadebot Code
Sunbot Code
-The photocell values should print to the Serial monitor, check out what kind of values you get inside, outside, in sun and shade, and decide when you want the wheels to move.
-Remember, this is a pretty “dumb” robot, it will move until it find what it wants (sun or shade) and it can drive off curbs or into people, so keep an eye on it when testing! Or add in some obstacle avoidance! I don’t have a deck or porch but if I did I would test it there. Or in a driveway.
5. Add plant:
-I threaded some wire through the holes in my plant’s pot and tied it down to the base, because it was wanting to topple over. I recommend starting with a small plant, my guy was a bit too heavy.


6. Share your results! Shoot me an email from the contact page if you make your own version 🙂
I had originally tried to make the bot simpler, just use the photocell to control the flow of power to the motors through the transistor and skip the microcontroller all together, but the Arduino gave me a bit more control over the bot’s behavior.
Making of the Sunbot from Kathleen McDermott on Vimeo.
