Learn how to build a simple Arduino-based robotic arm with a gripper using popsicle sticks and a few servos.
Materials
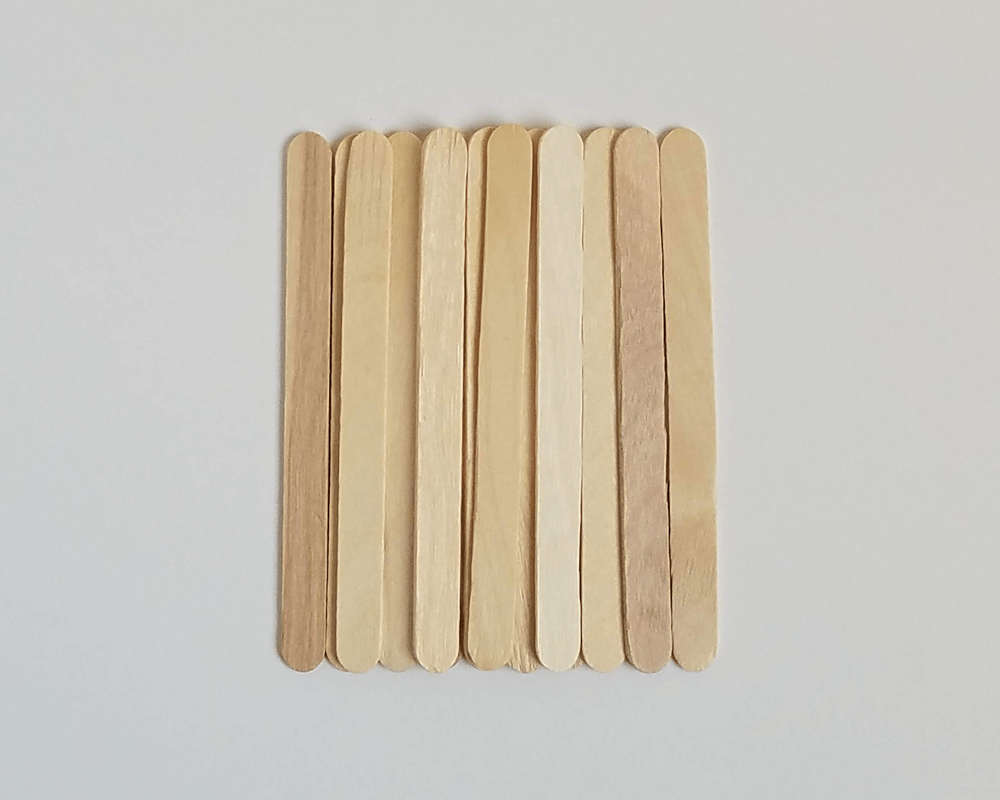
14 Popsicle Sticks 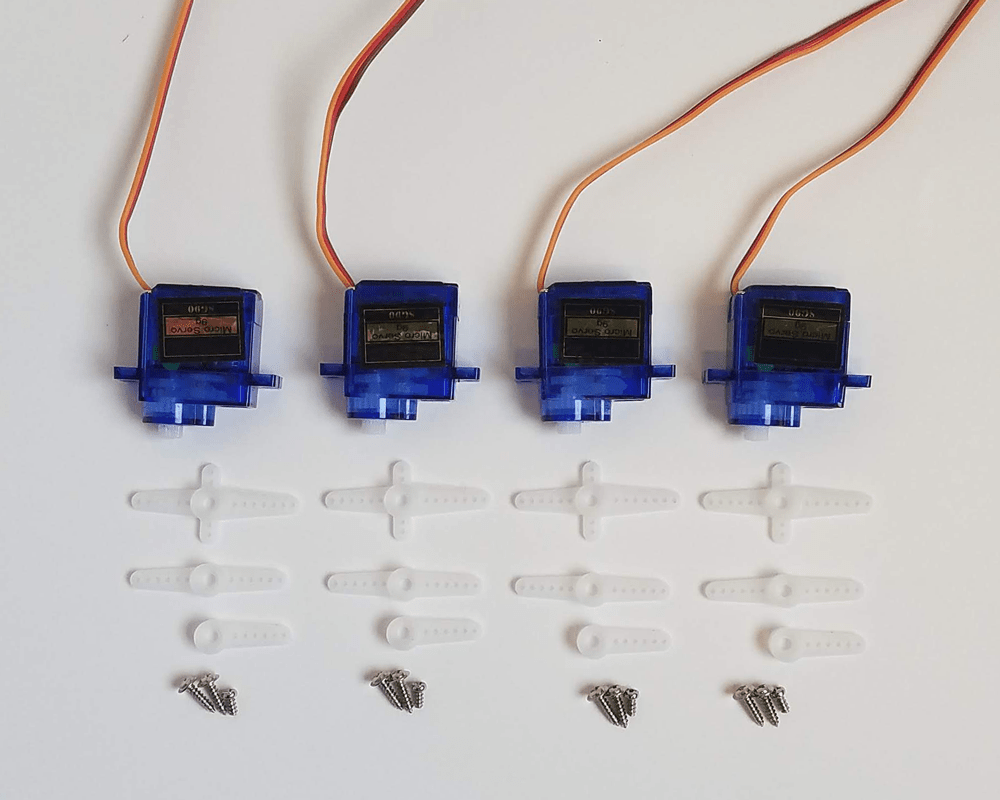
4 Micro Servos 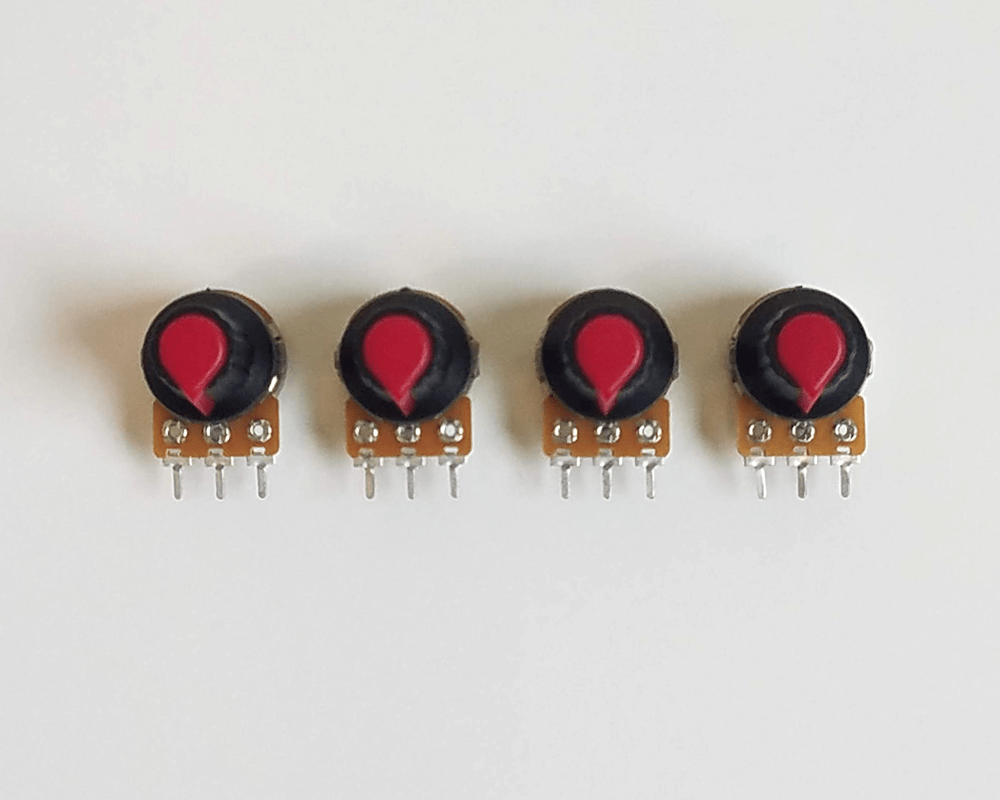
4 Rotary Potentiometers 
1 Half Size Breadboard 
1 Arduino Uno 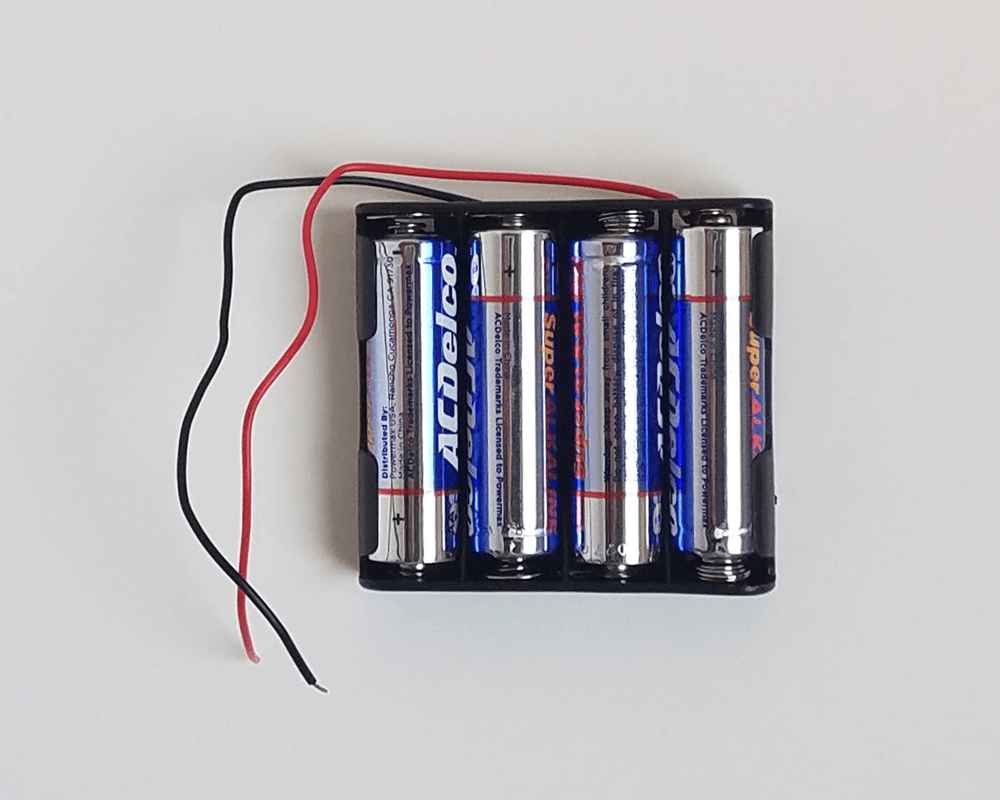
1 6-Volt Battery Pack 
26 Jumpers Cables
Tools

Hot Glue Gun + Hot Glue Sticks 
Precision Screwdriver or Other Small Screwdriver 
Arduino IDE (download this) 
USB to Arduino Cable
1
Align the Servos
- 4 Micro Servos
- 3 Two-Direction Horns
- 1 One-Direction Horn
- Small Screws
- Small Screwdriver
A: Choose Horns for the Servos
Attach the horns (white wing attachments) to the servos by popping them on top of the servos.
Three of the servos need the horn that extends in two directions while one servo will need the horn that extends in just one direction.

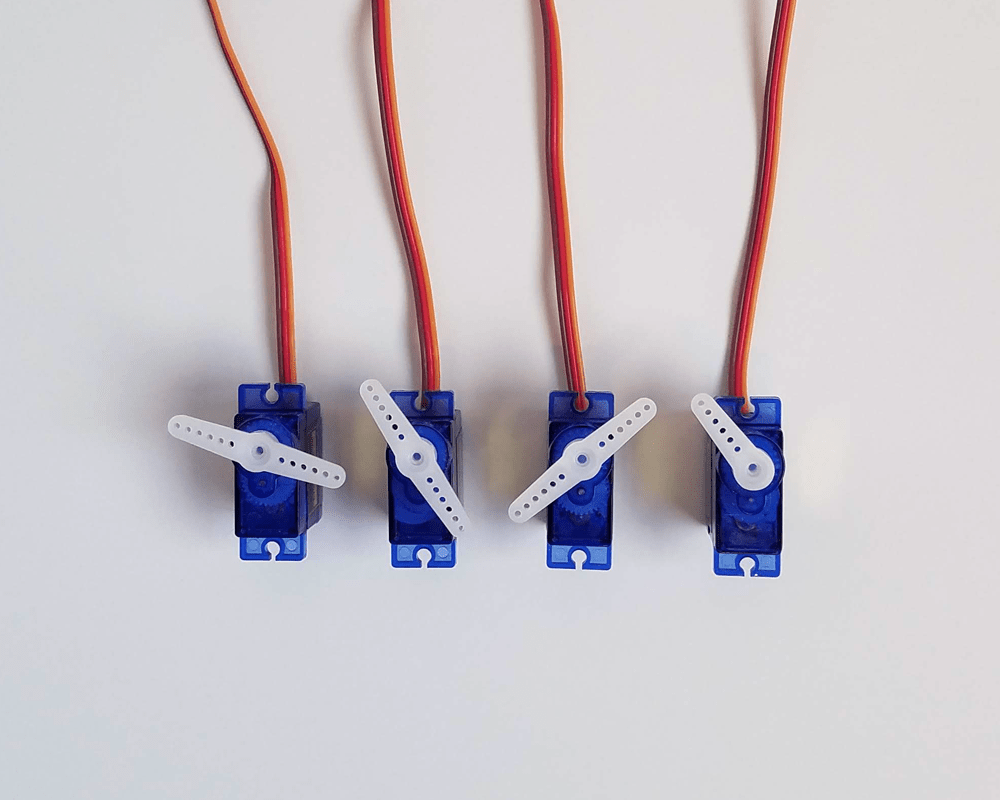
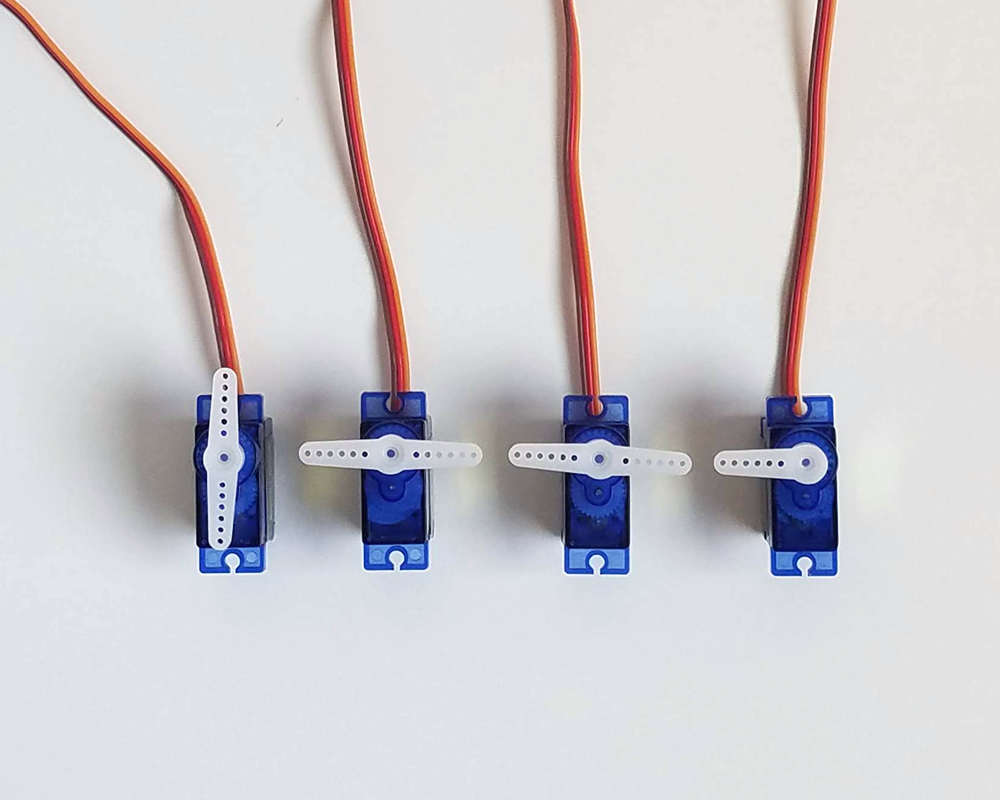
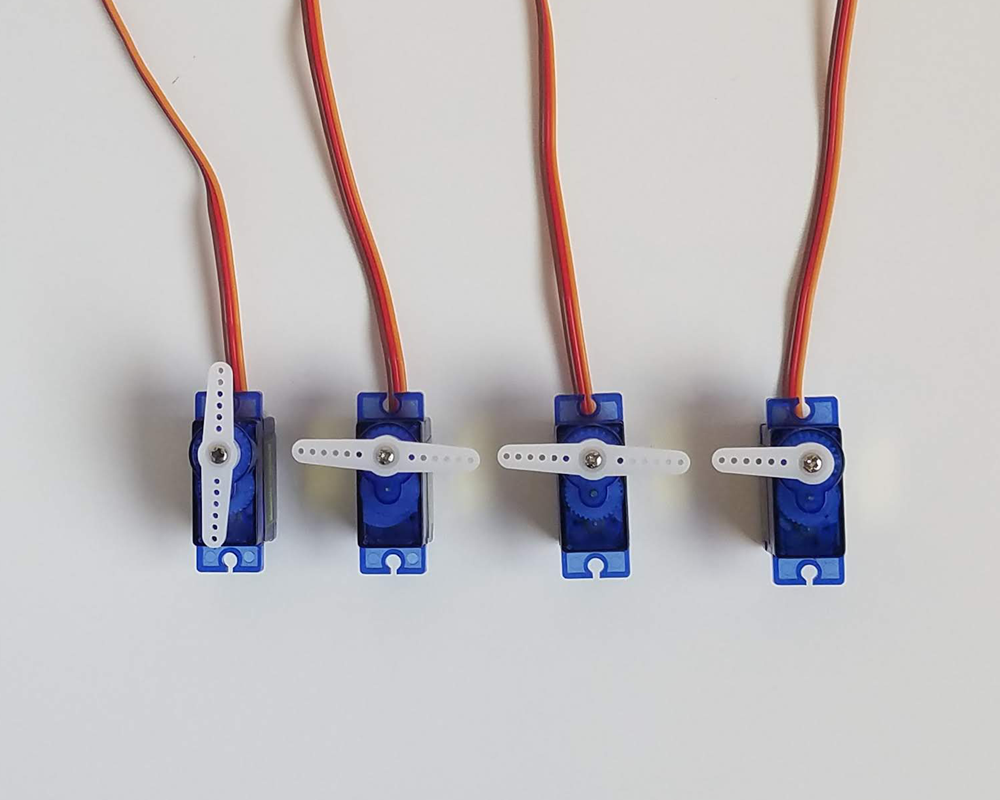
B: Calibrate the Servos
Turn the horn counter-clockwise as far as it will go. Pop the horn off and then back on at the calibrated position.
One of the servos with the two-direction horns needs to be calibrated parallel to the servo while the other three need to be perpendicular to the servos.
C: Screw in the Horns
Screw the horns securely in using the small screw and a screwdriver.
2
Prepare Individual Parts
- 4 Micro Servos
- 14 Popsicle Sticks
- Hot Glue Gun and Glue
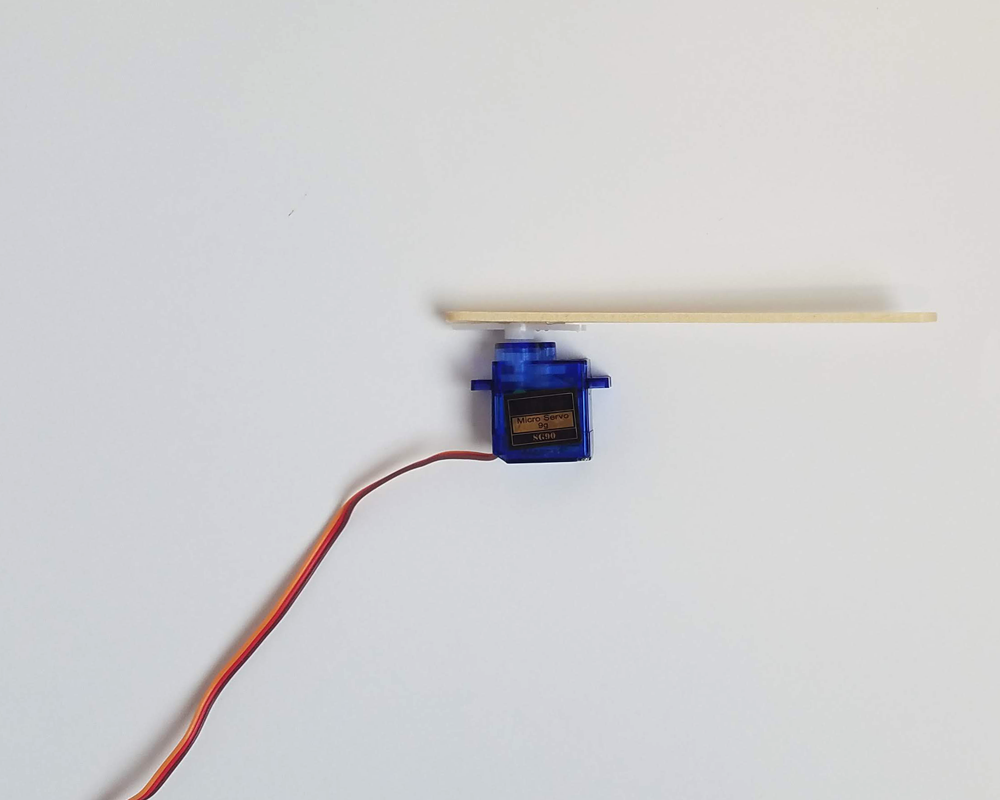
A: Attach Parallel Popsicle Stick
For the servo that was calibrated so the horn is parallel to the servo, hot glue one end of the popsicle stick to the flat side of the horn.
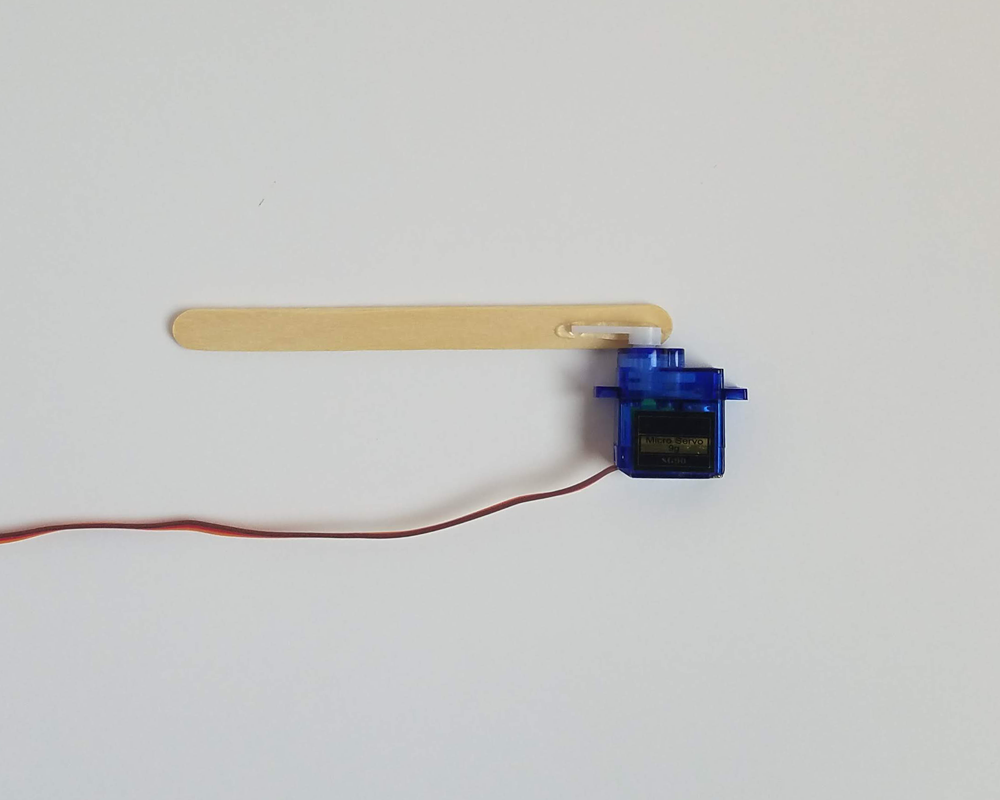
B: Attach Perpendicular Popsicle Stick
For one of the two-direction horned servos that was calibrated so the horn is perpendicular to the servo, hot glue one end of the popsicle stick to the flat side of the horn.
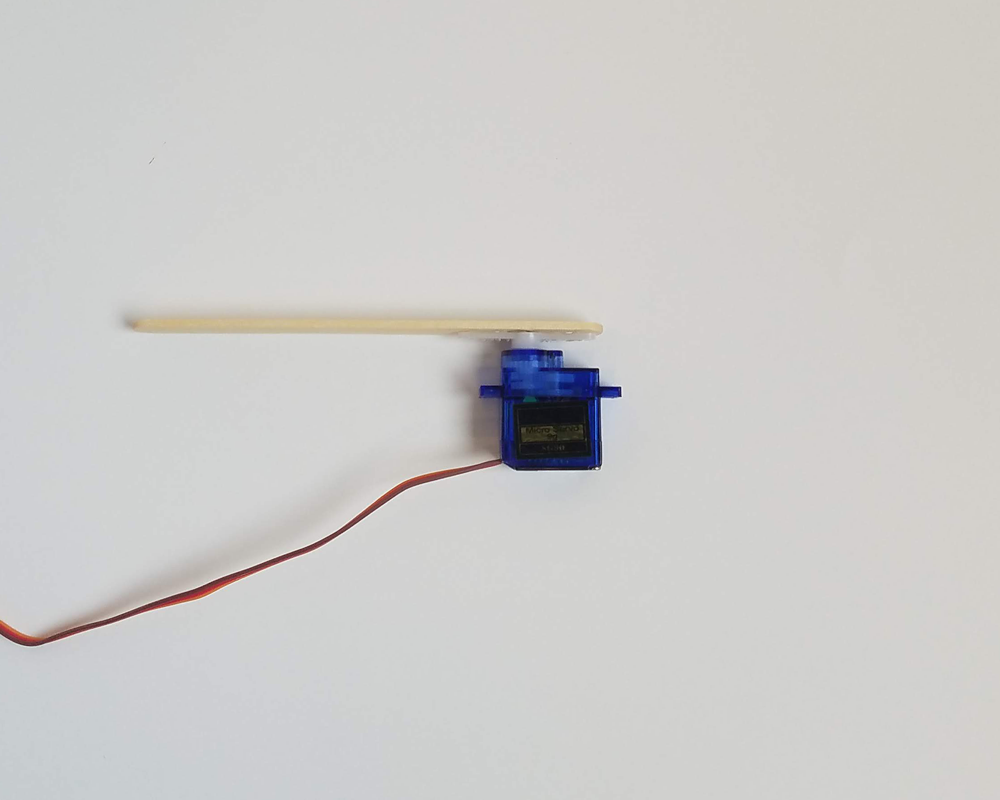
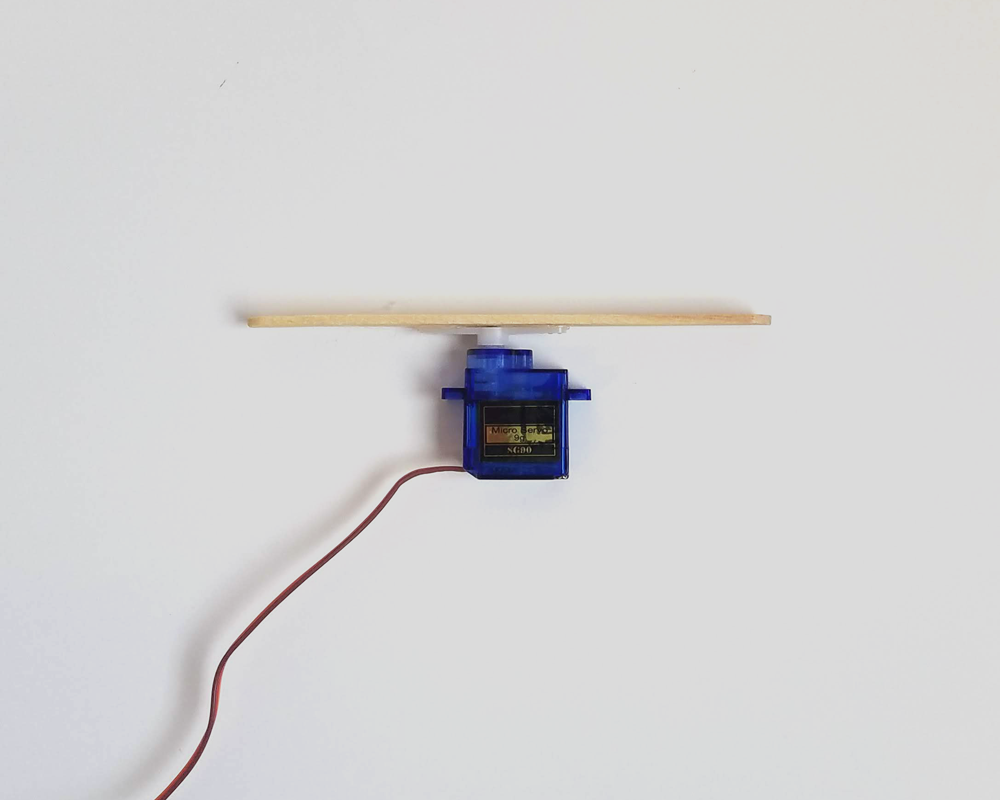
C: Attach Base Popsicle Stick
For the other two-direction horned servo that was calibrated so the horn is perpendicular to the servo, hot glue the middle of the popsicle stick to the flat side of the horn.

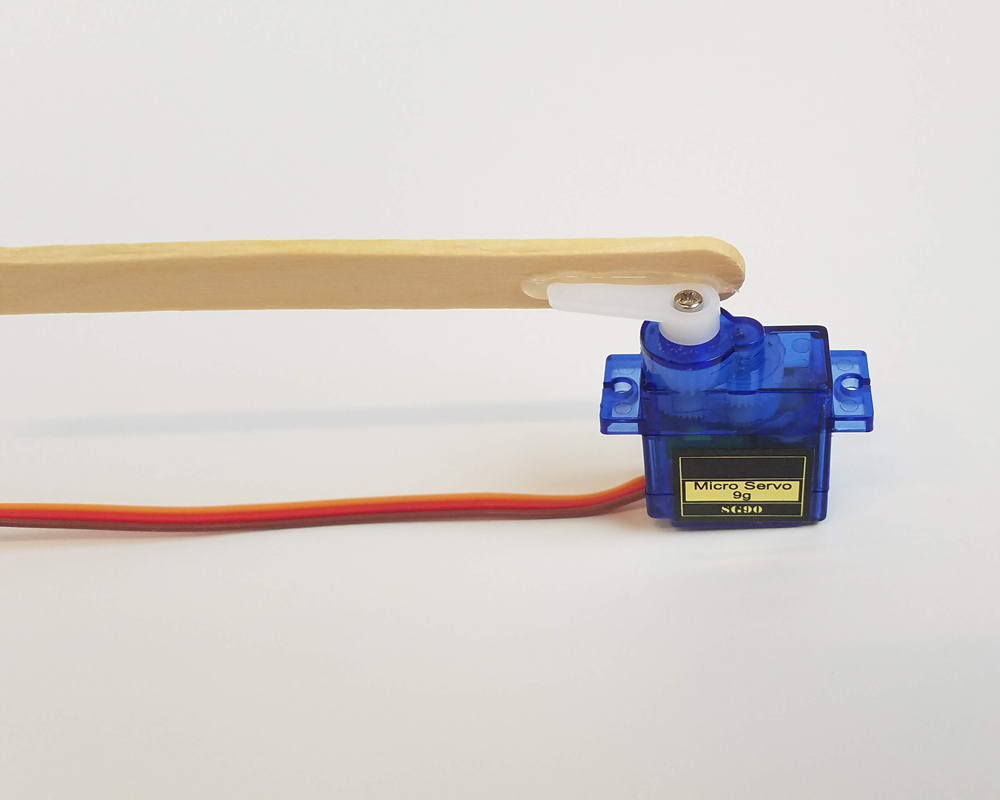
D: Attach Gripper Popsicle Stick
This step is different, the popsicle stick it not on the flat side of the horn.
For the servo with the one-direction horn, hot glue one end of the popsicle stick to the thin clockwise side of the horn.

E: Create a Popsicle Stick Stack
Hot glue 4 popsicle sticks together so that they stack on top of one another. Glue the flat side of the stack to the bottom of the servo that was calibrated to be parallel to the servo. Tear off any excess glue around the edges so the stack can lay flat.

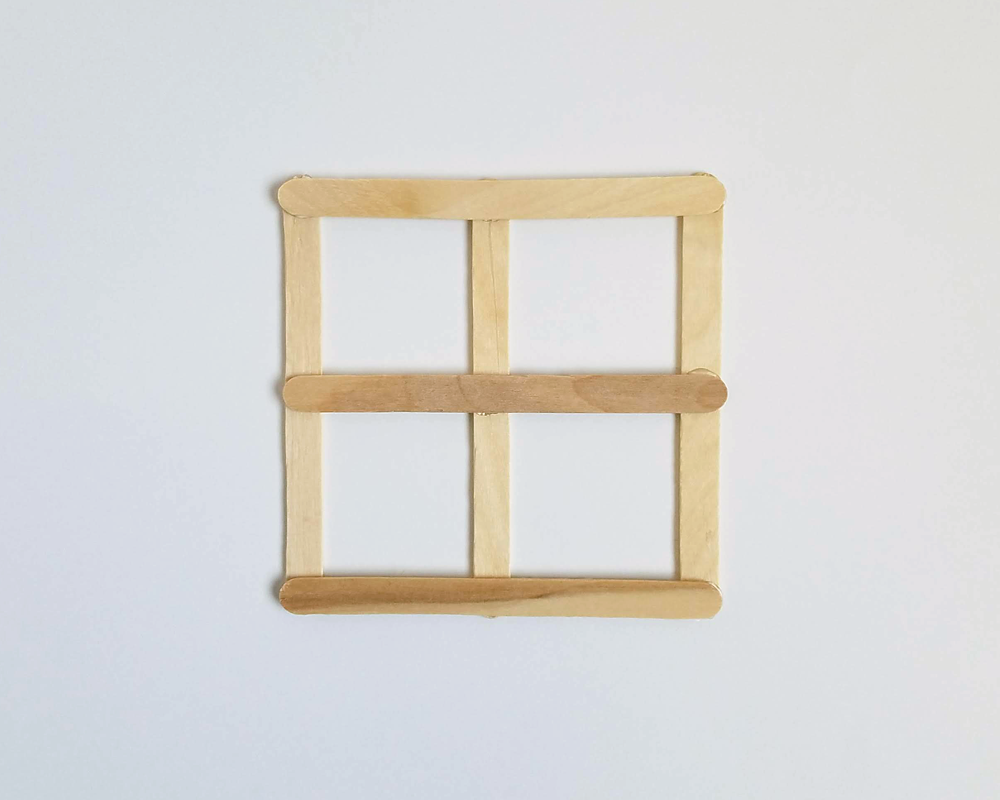
F: Build the Base for the Robot
Lay 3 popsicle sticks down in one direction and 3 popsicle sticks perpendicular to the first 3 to create a grid. Hot glue all the pieces together.
3
Assemble the Structure
- Previously Prepared Micro Servos
- Previously Prepared Robot Base
- Hot Glue Gun and Glue
A: Attach the Base Servo
Glue the bottom of the servo that has the middle of the popsicle stick attached to the servo to the base you just created.
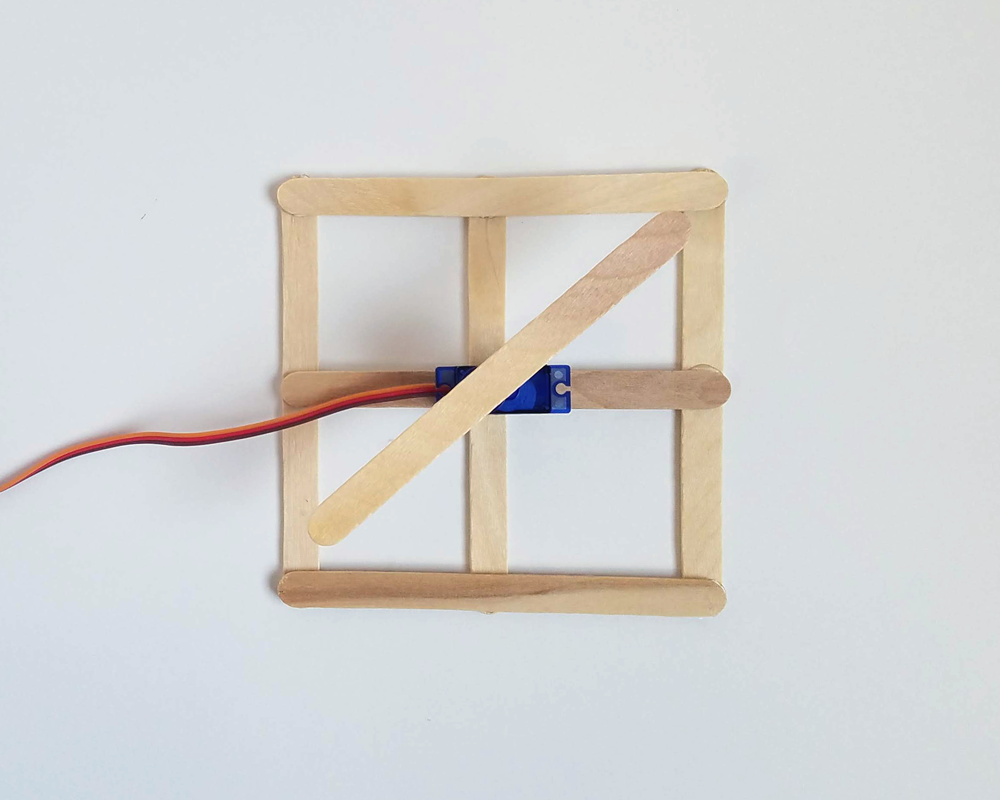
B: Attach the Parallel Servo
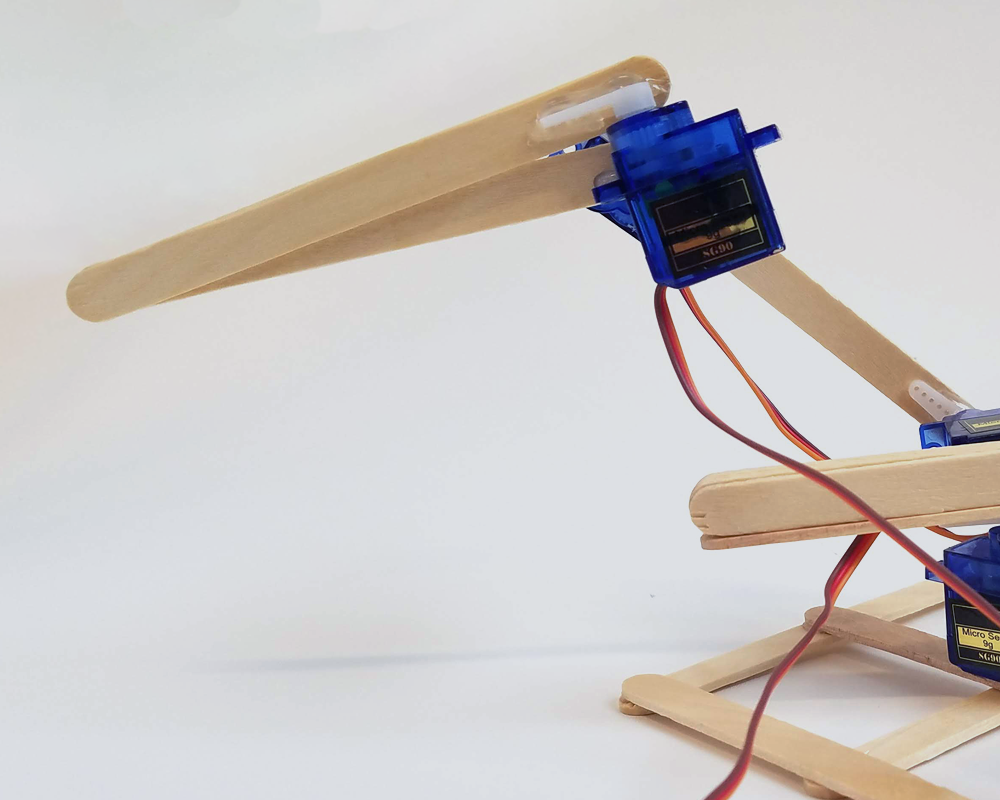
Orient the servo with the stack of popsicle sticks attached so that the popsicle stick attached to the horn can rotate upwards into the air. Glue the side of the popsicle stick stack to the popsicle stick on the base servo.

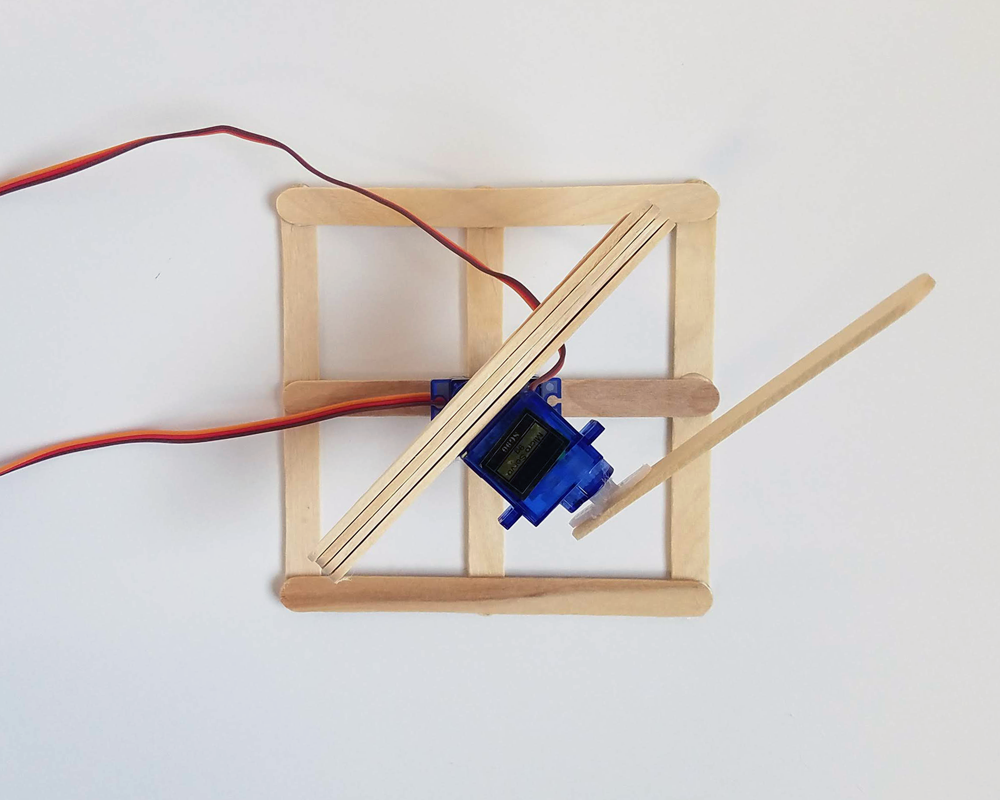
C: Attach the last Two-Direction Horned Servo
Glue the last servo with a two-direction horn to the popsicle stick on the previous servo so that the popsicle stick rotates away from the center of the robot.
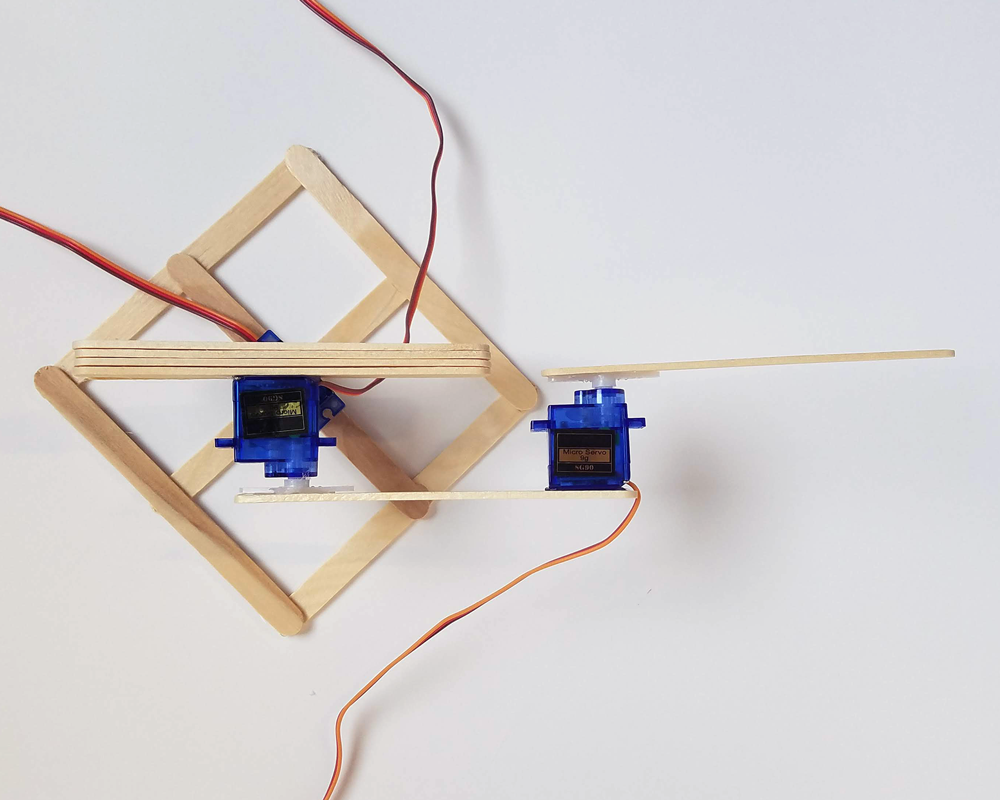
D: Attach the One-Direction Horned Servo
Glue the side of the last servo (as opposed to the bottom) to the popsicle stick on the previous servo so that when this servo rotates, the ends of the two popsicle sticks will close and act as a gripper.


4
Wiring
- Built Structure
- 1 Arduino or equivalent
- 1 Half Sized Breadboard
- 4 Potentiometers
- 26 Male to Male Jumper Wires
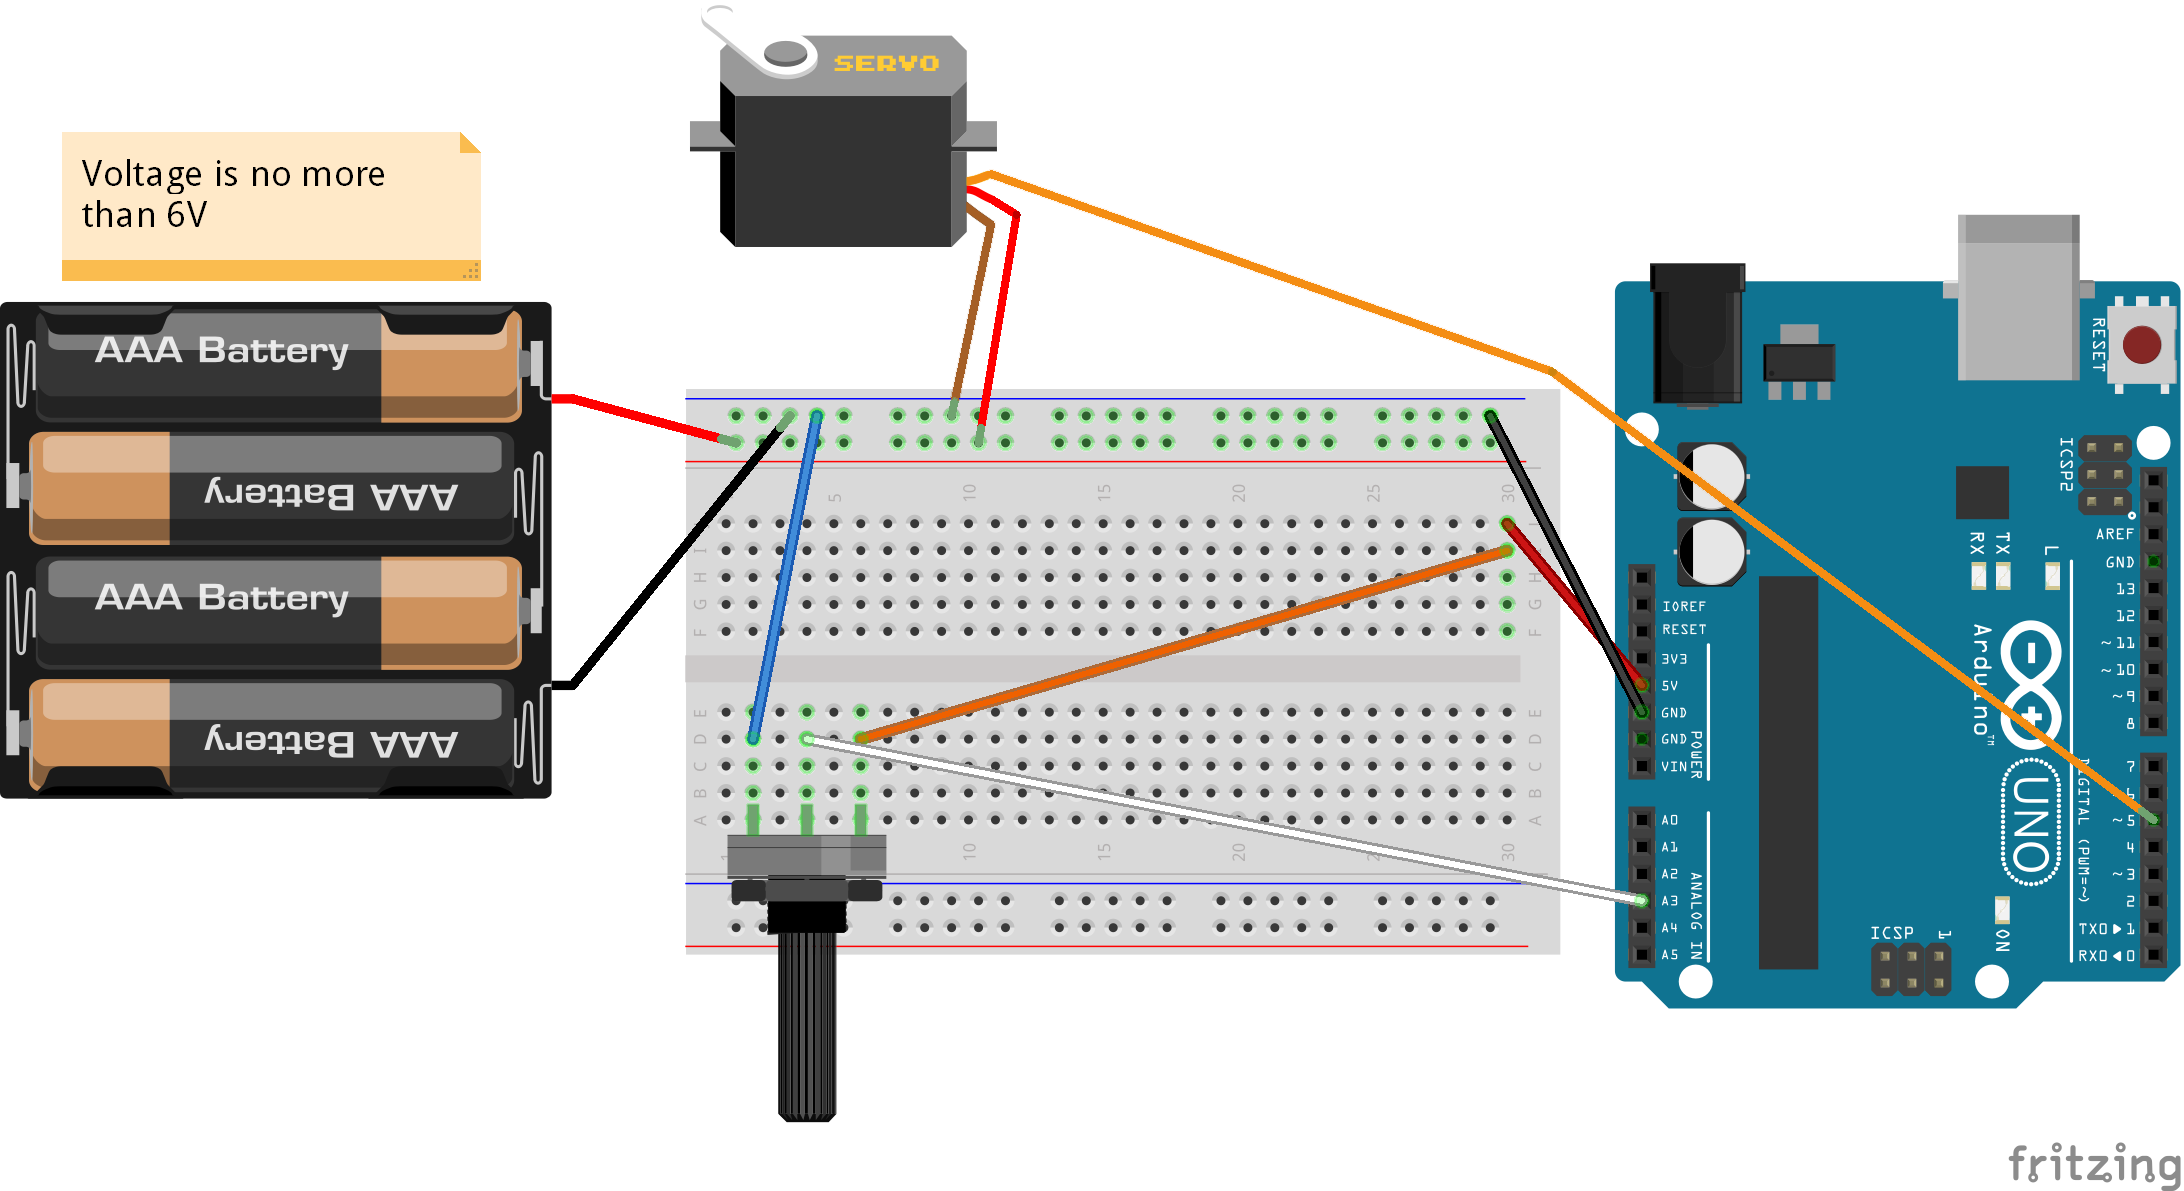
A: Build the circuit for one servo
Build the circuit shown. Important: pay attention to and match the colors for the battery pack and the servos!
After programming the Arduino, this allows one potentiometer to control one servo.
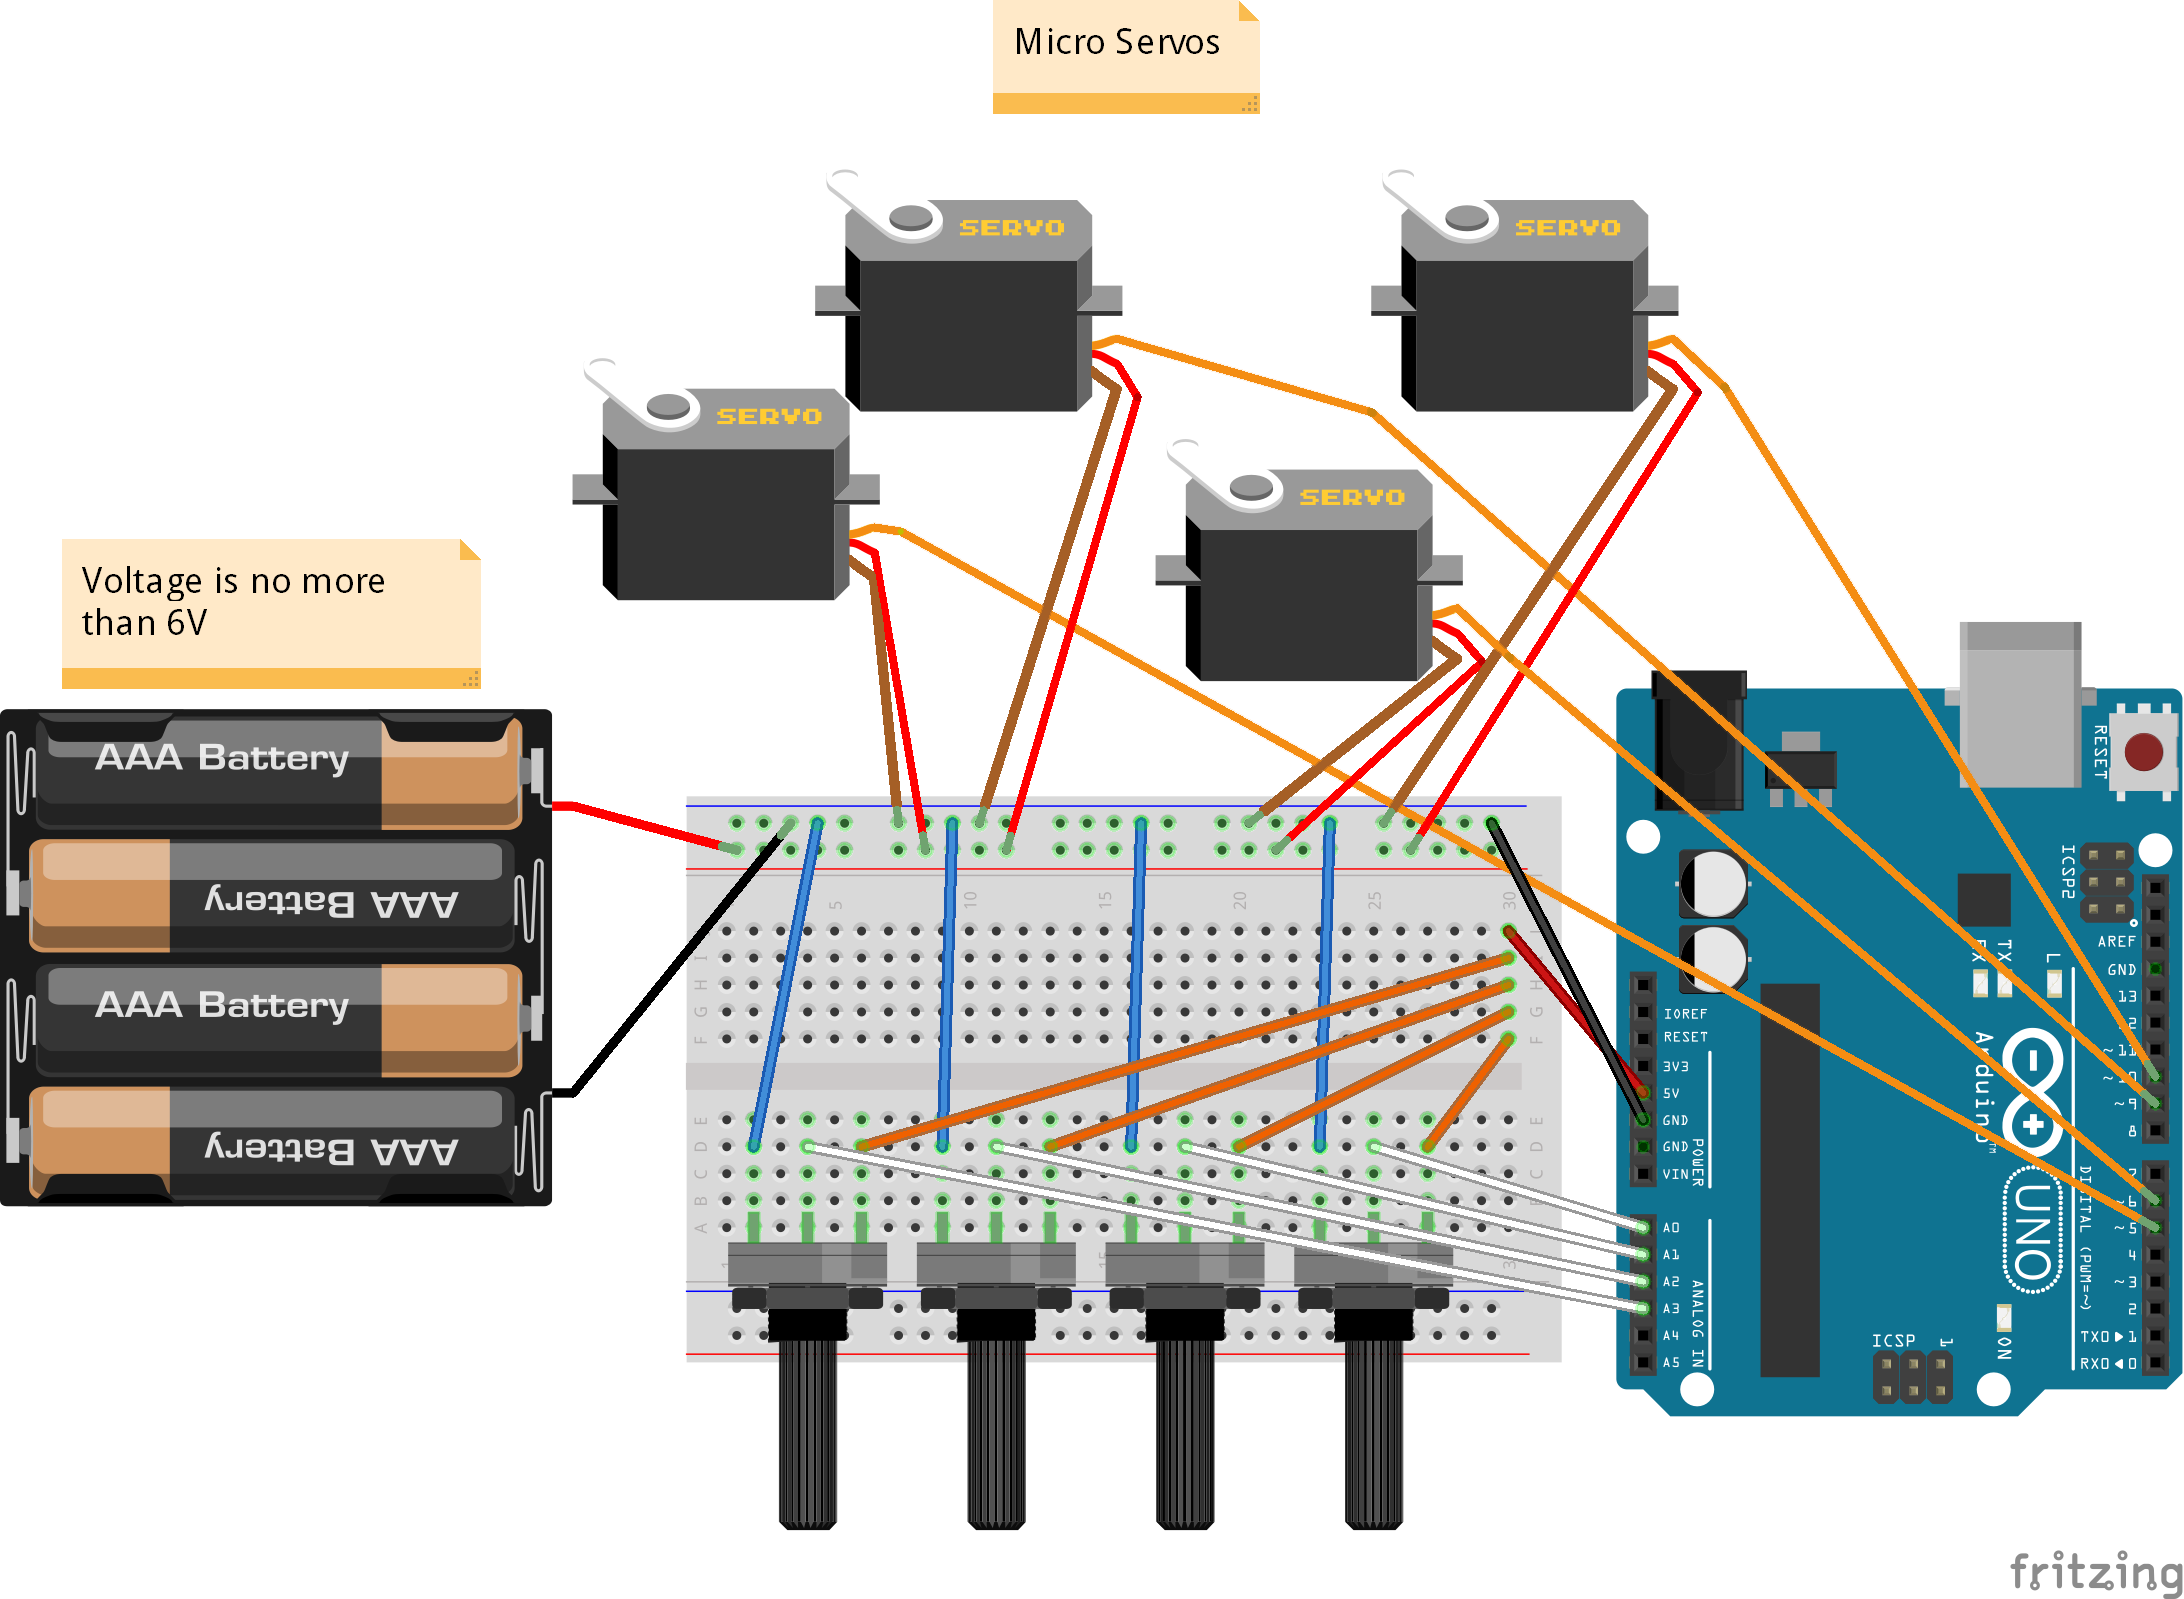
B: Build the entire circuit
Build the circuit shown. It’s essentially four iterations of the circuit from the previous step. After programming the Arduino, this will allow you to control each of the servos with the corresponding potentiometer.
5
Code
- Arduino
- Arduino IDE
- USB to Arduino Cable
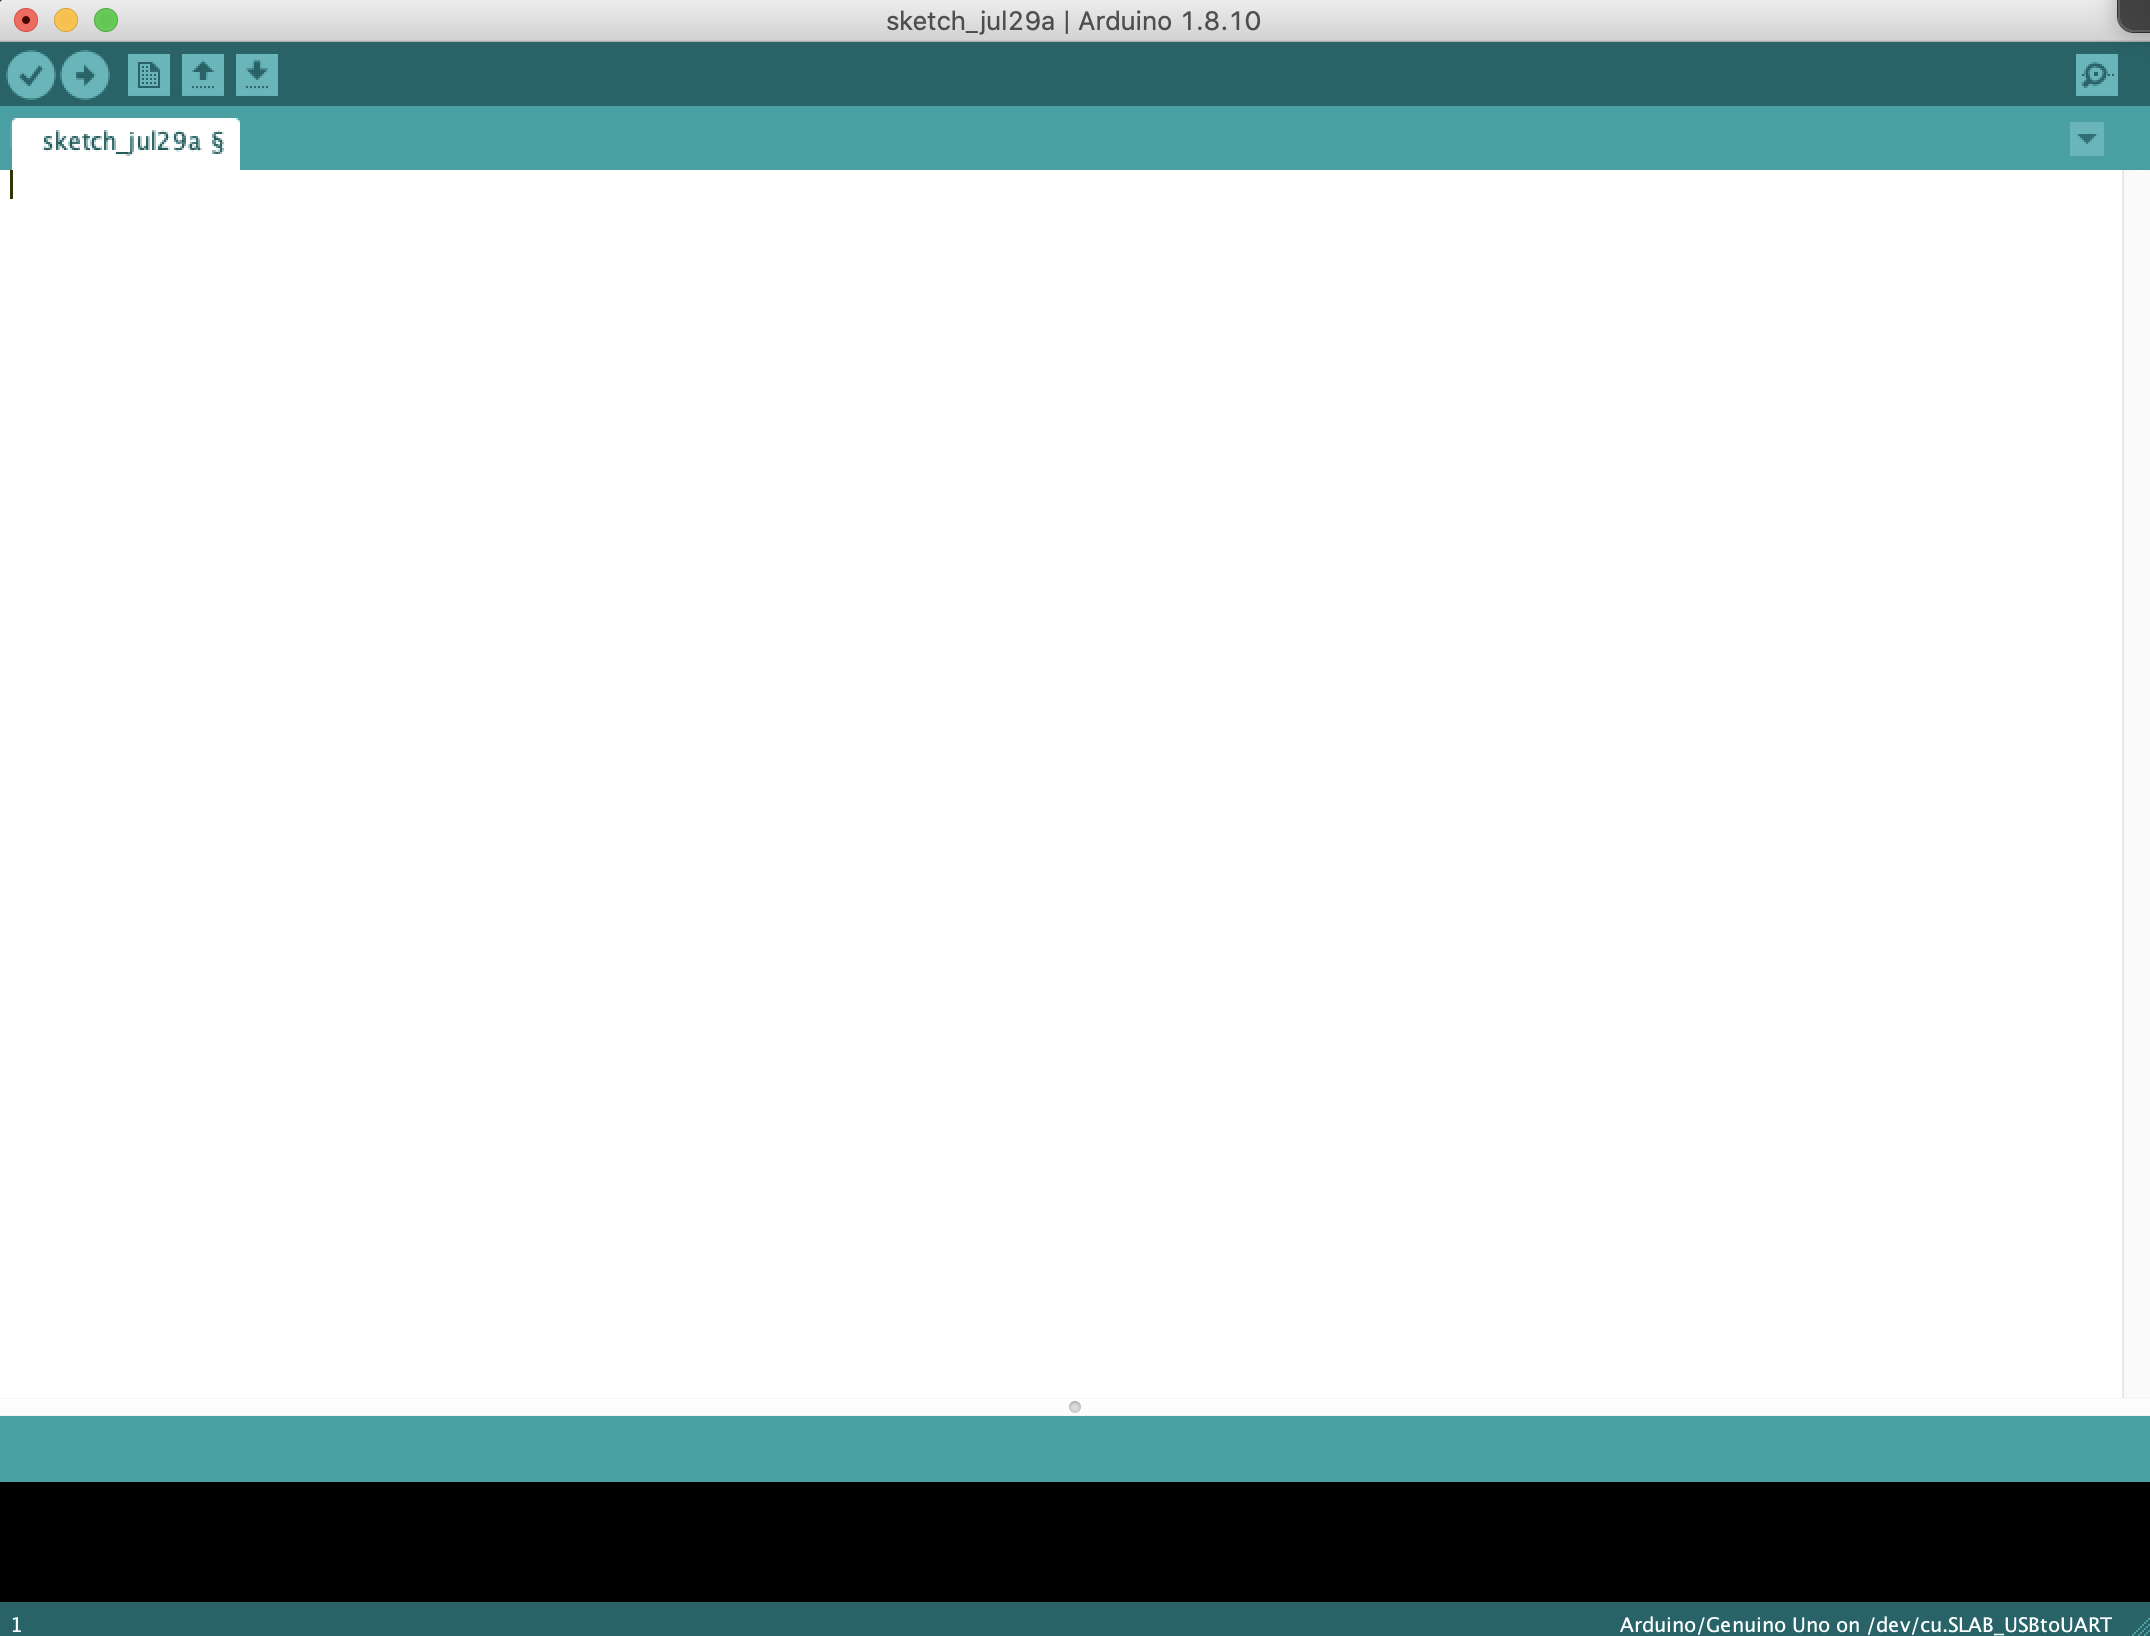
A: Create a New Arduino Project
Open the Arduino IDE and create a new project. Delete all of the default content so you have a completely blank sketch.
B: Copy the Code
Copy the code below and paste into your project.
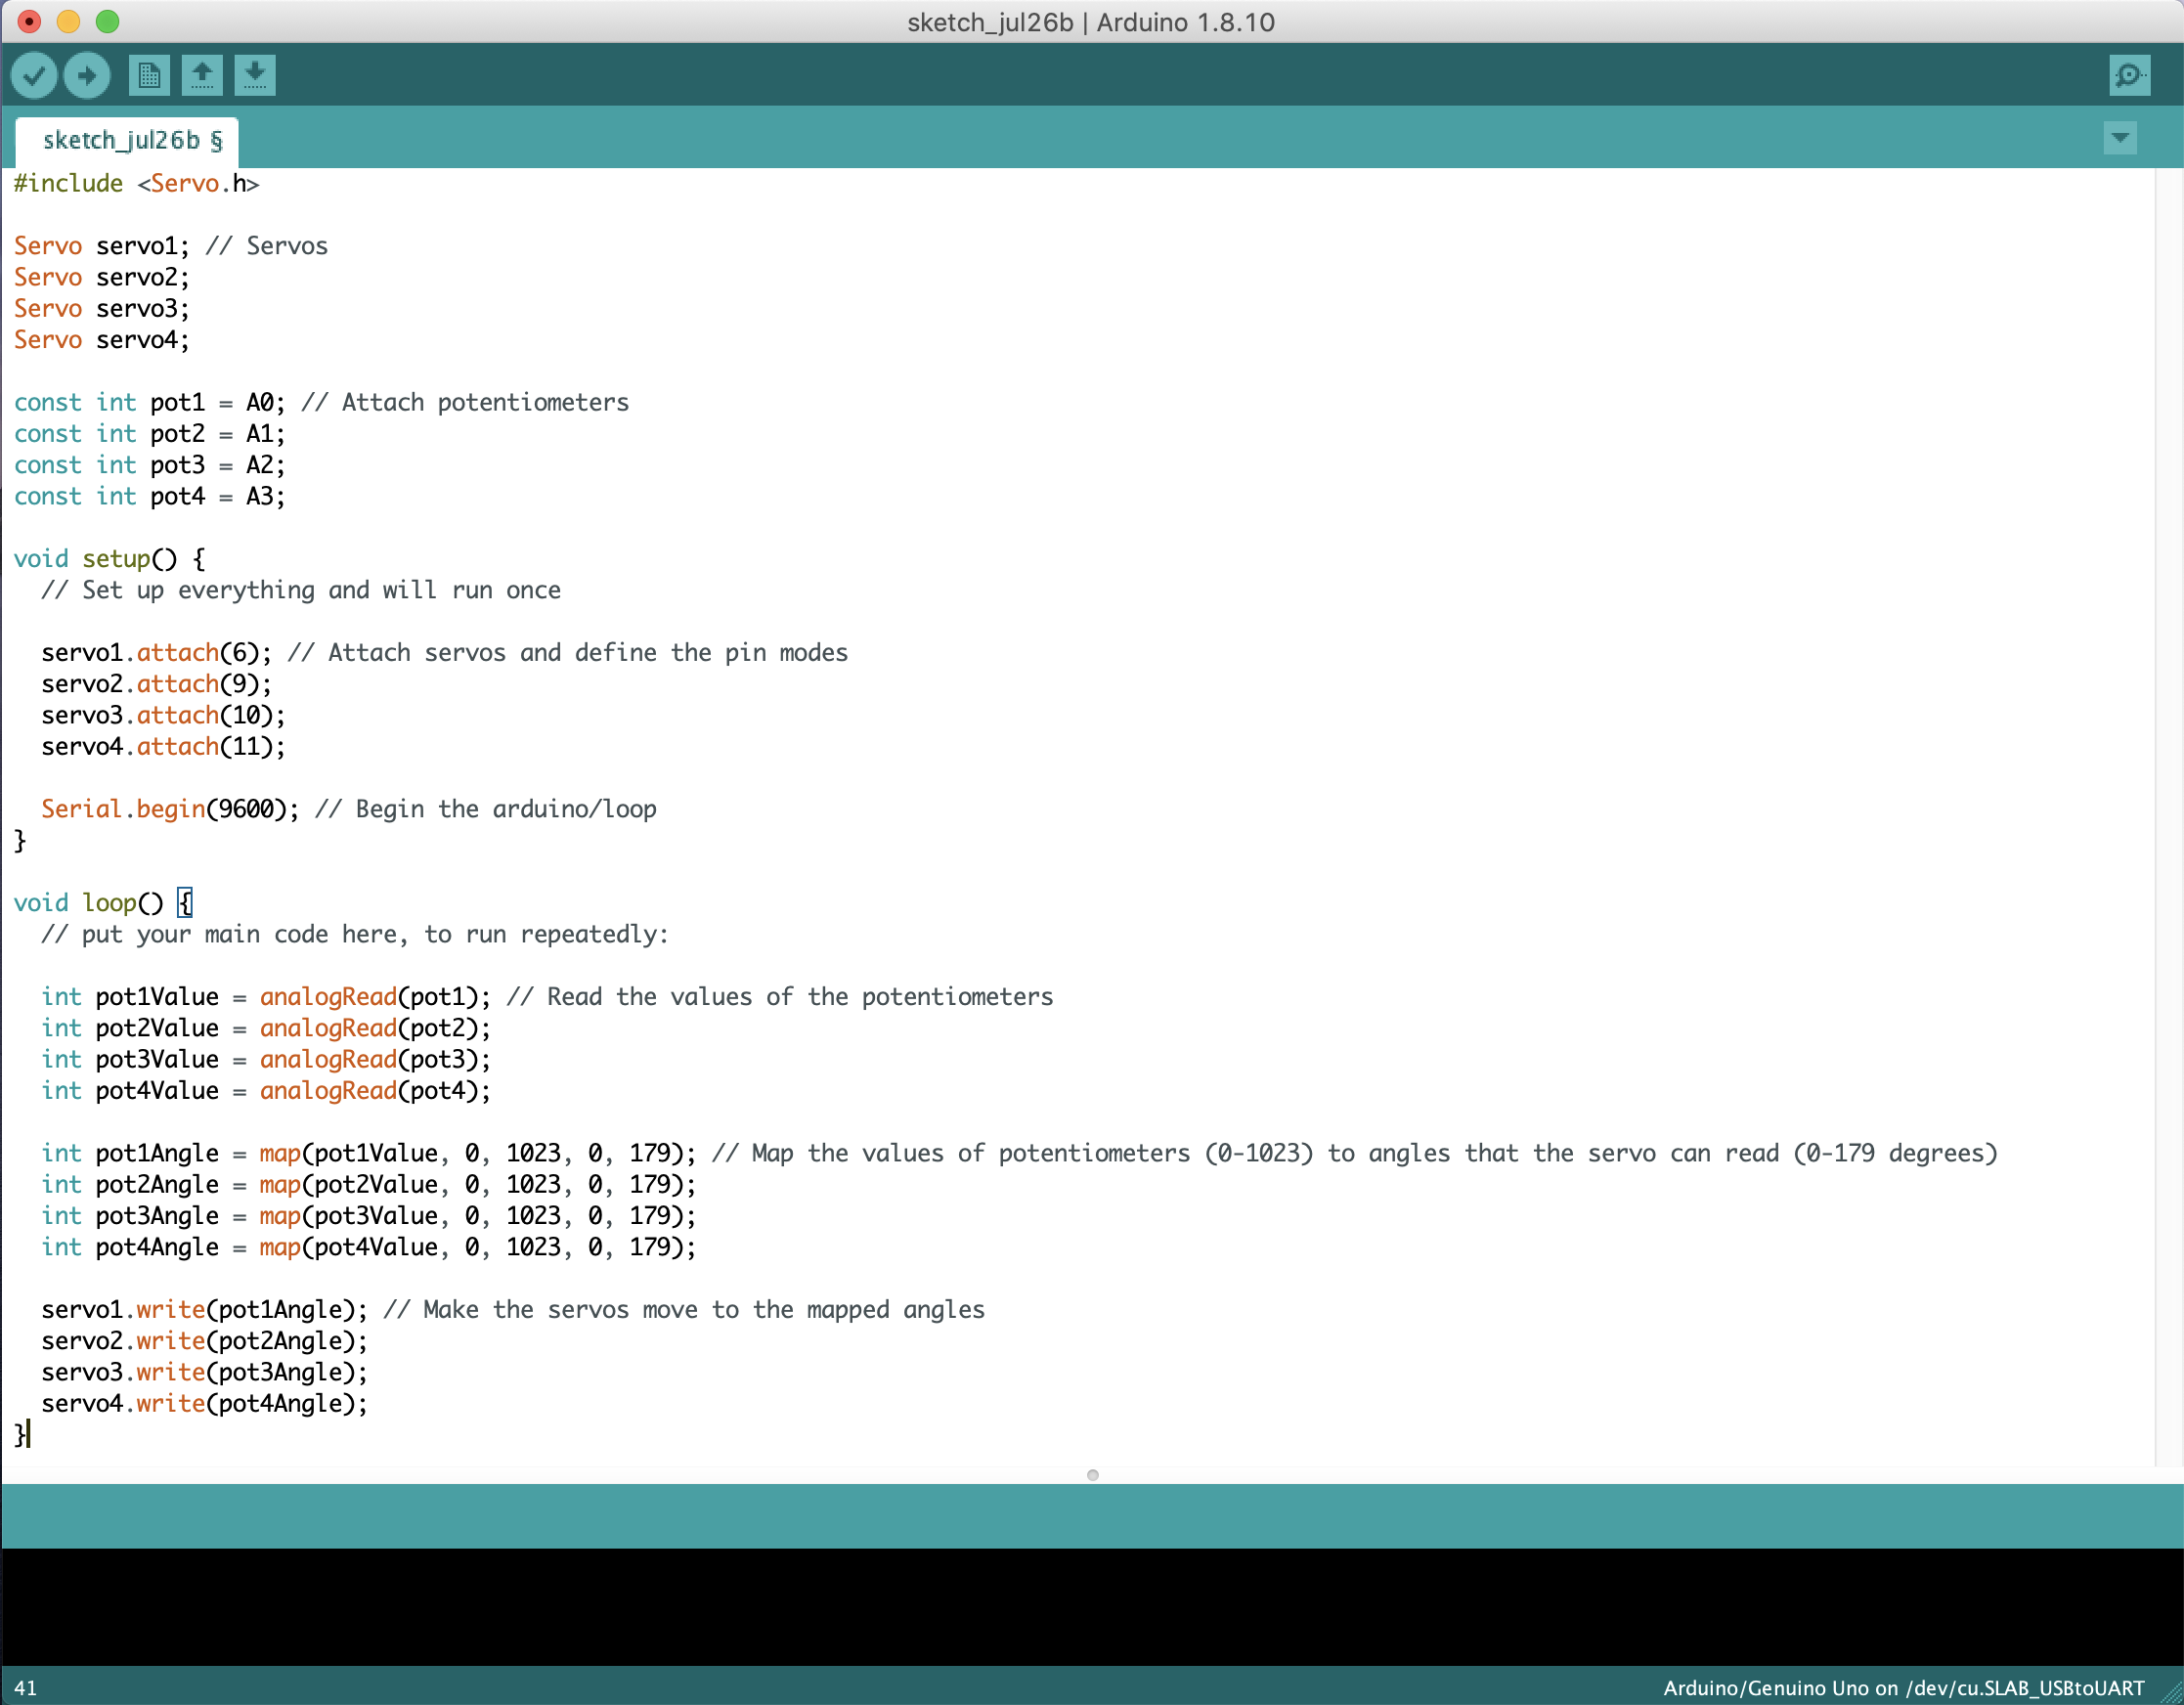
#include <Servo.h>

Servo servo1; // Servos
Servo servo2;
Servo servo3;
Servo servo4;

const int pot1 = A0; // Attach potentiometers
const int pot2 = A1;
const int pot3 = A2;
const int pot4 = A3;

void setup() {
  // Set up everything and will run once

  servo1.attach(5); // Attach servos and define the pin modes
  servo2.attach(6);
  servo3.attach(9);
  servo4.attach(10);
}

void loop() {
  // put your main code here, to run repeatedly:

  int pot1Value = analogRead(pot1); // Read the values of the potentiometers
  int pot2Value = analogRead(pot2);
  int pot3Value = analogRead(pot3);
  int pot4Value = analogRead(pot4);

  int pot1Angle = map(pot1Value, 0, 1023, 0, 179); // Map the values of potentiometers (0-1023) to angles that the servo can read (0-179 degrees)
  int pot2Angle = map(pot2Value, 0, 1023, 0, 179);
  int pot3Angle = map(pot3Value, 0, 1023, 0, 179);
  int pot4Angle = map(pot4Value, 0, 1023, 0, 179);

  servo1.write(pot1Angle); // Make the servos move to the mapped angles
  servo2.write(pot2Angle);
  servo3.write(pot3Angle);
  servo4.write(pot4Angle);
}
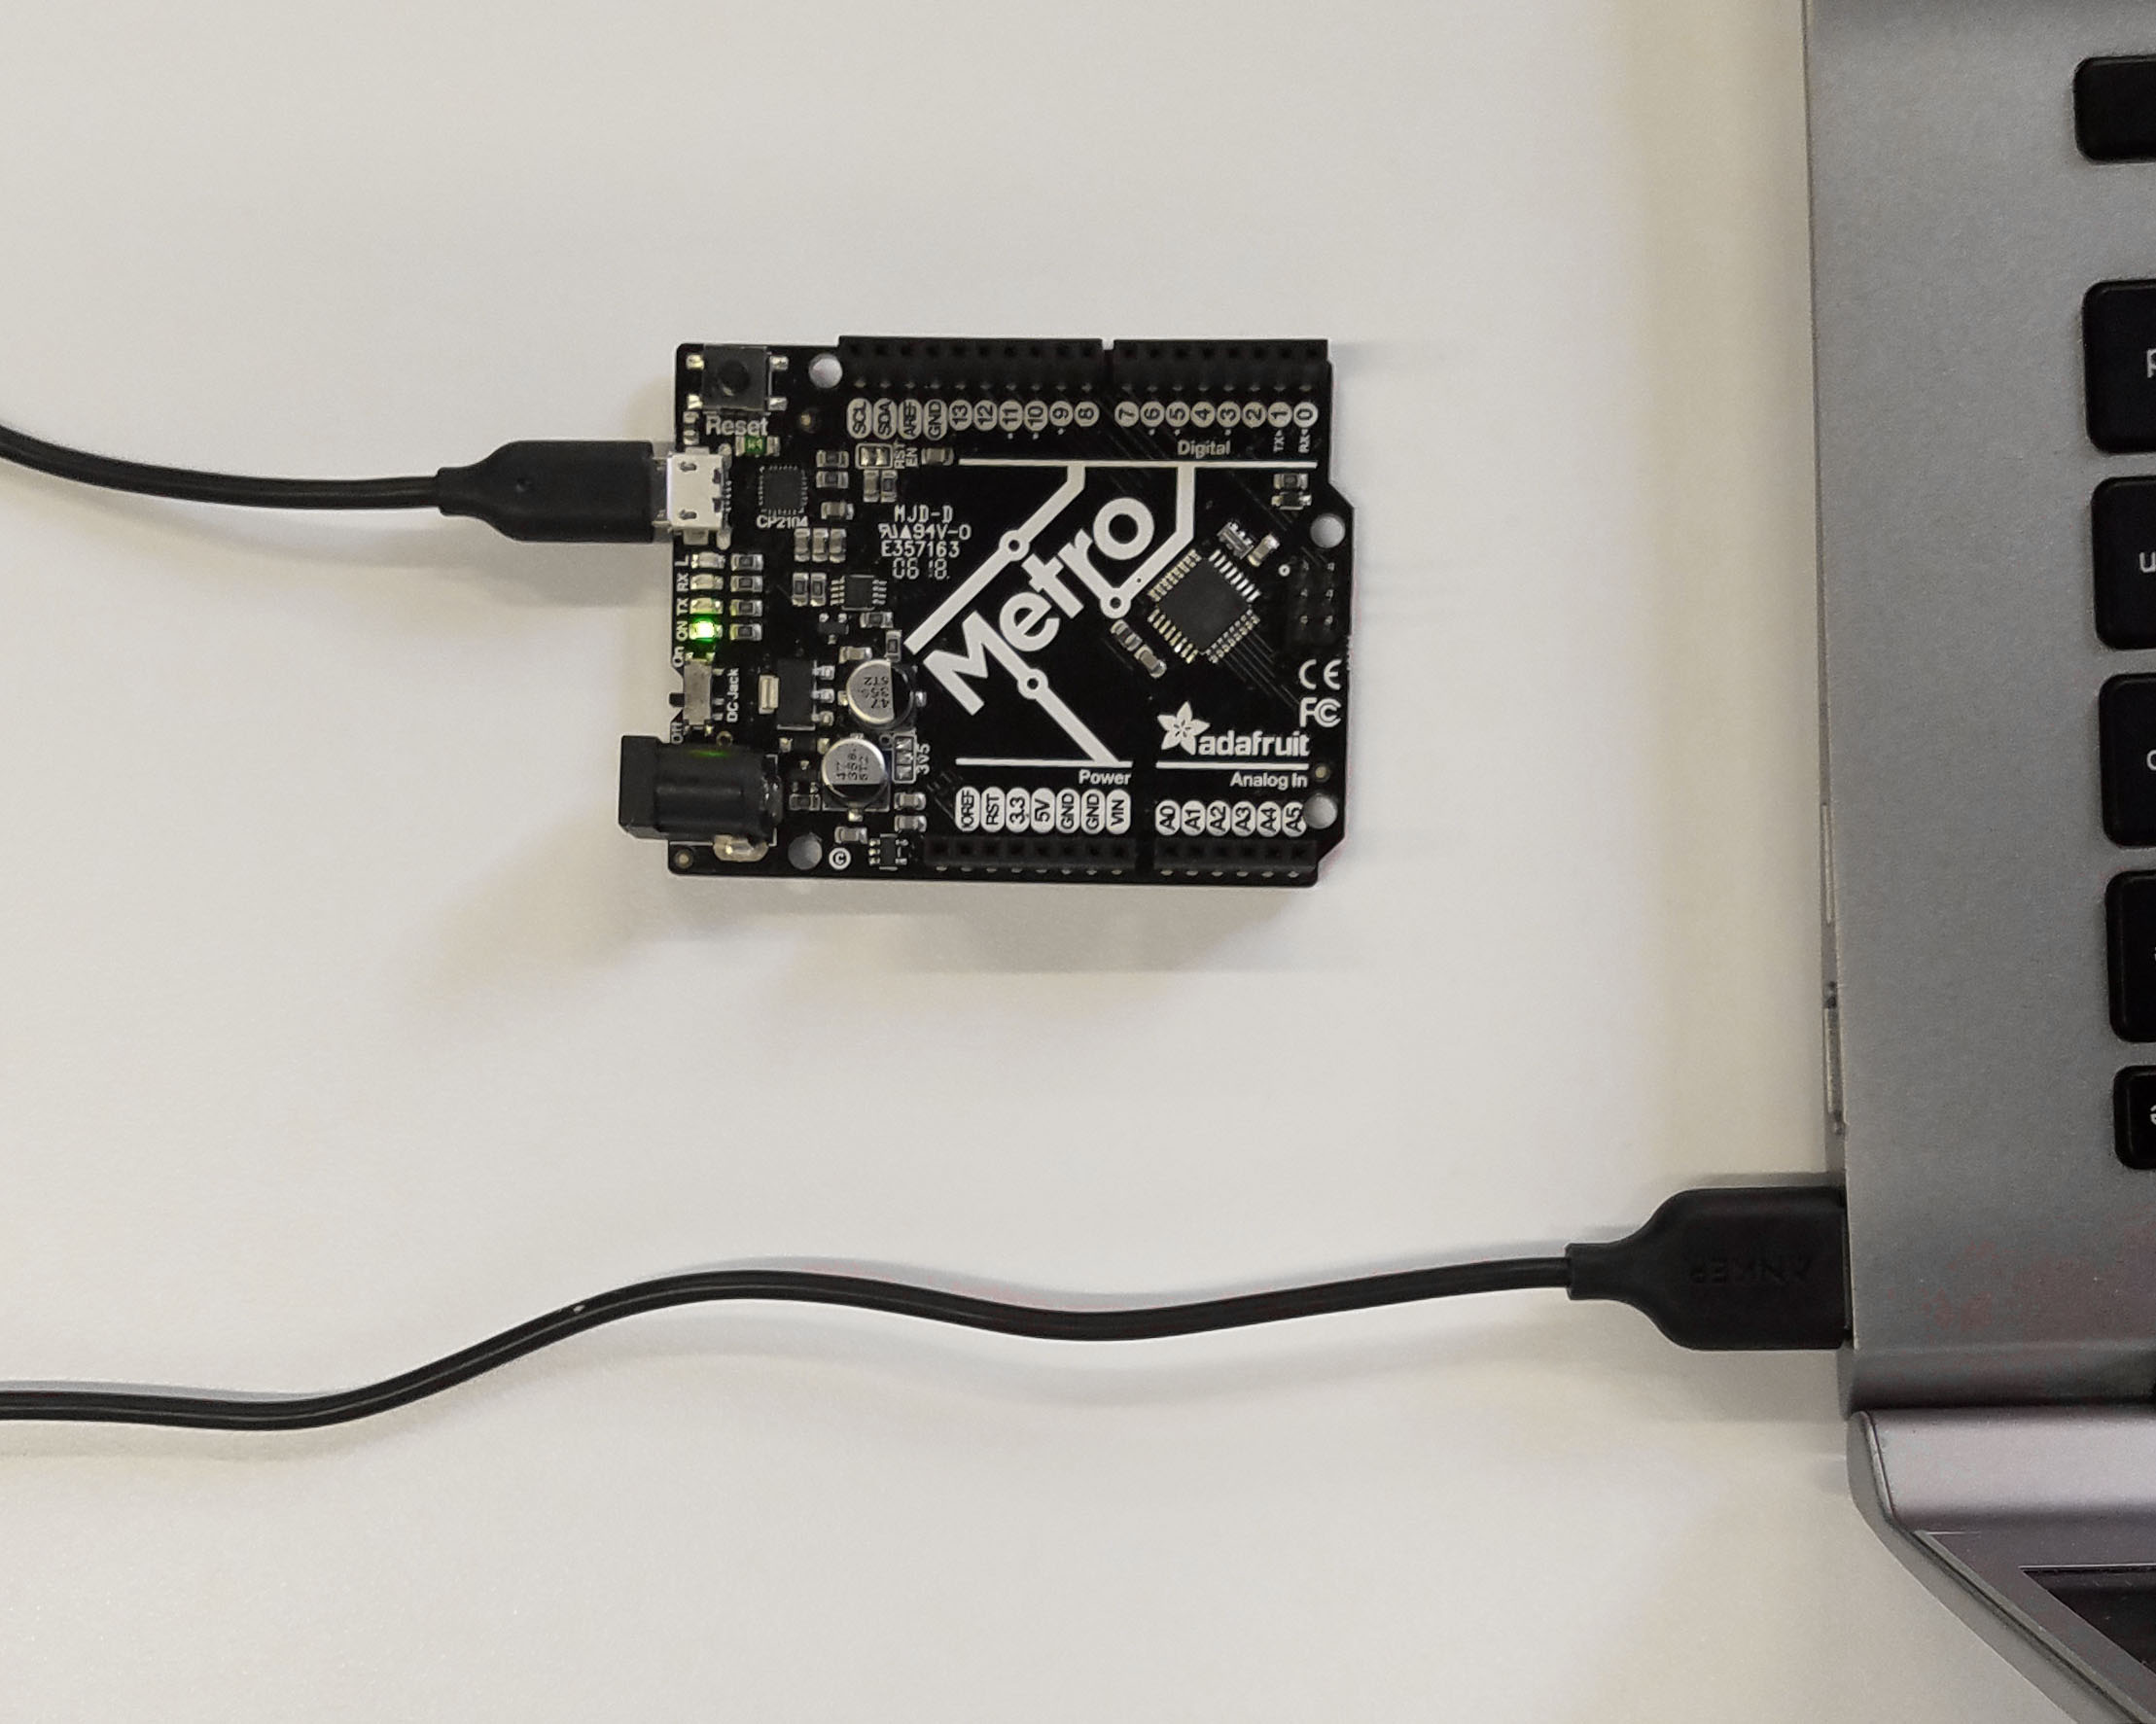
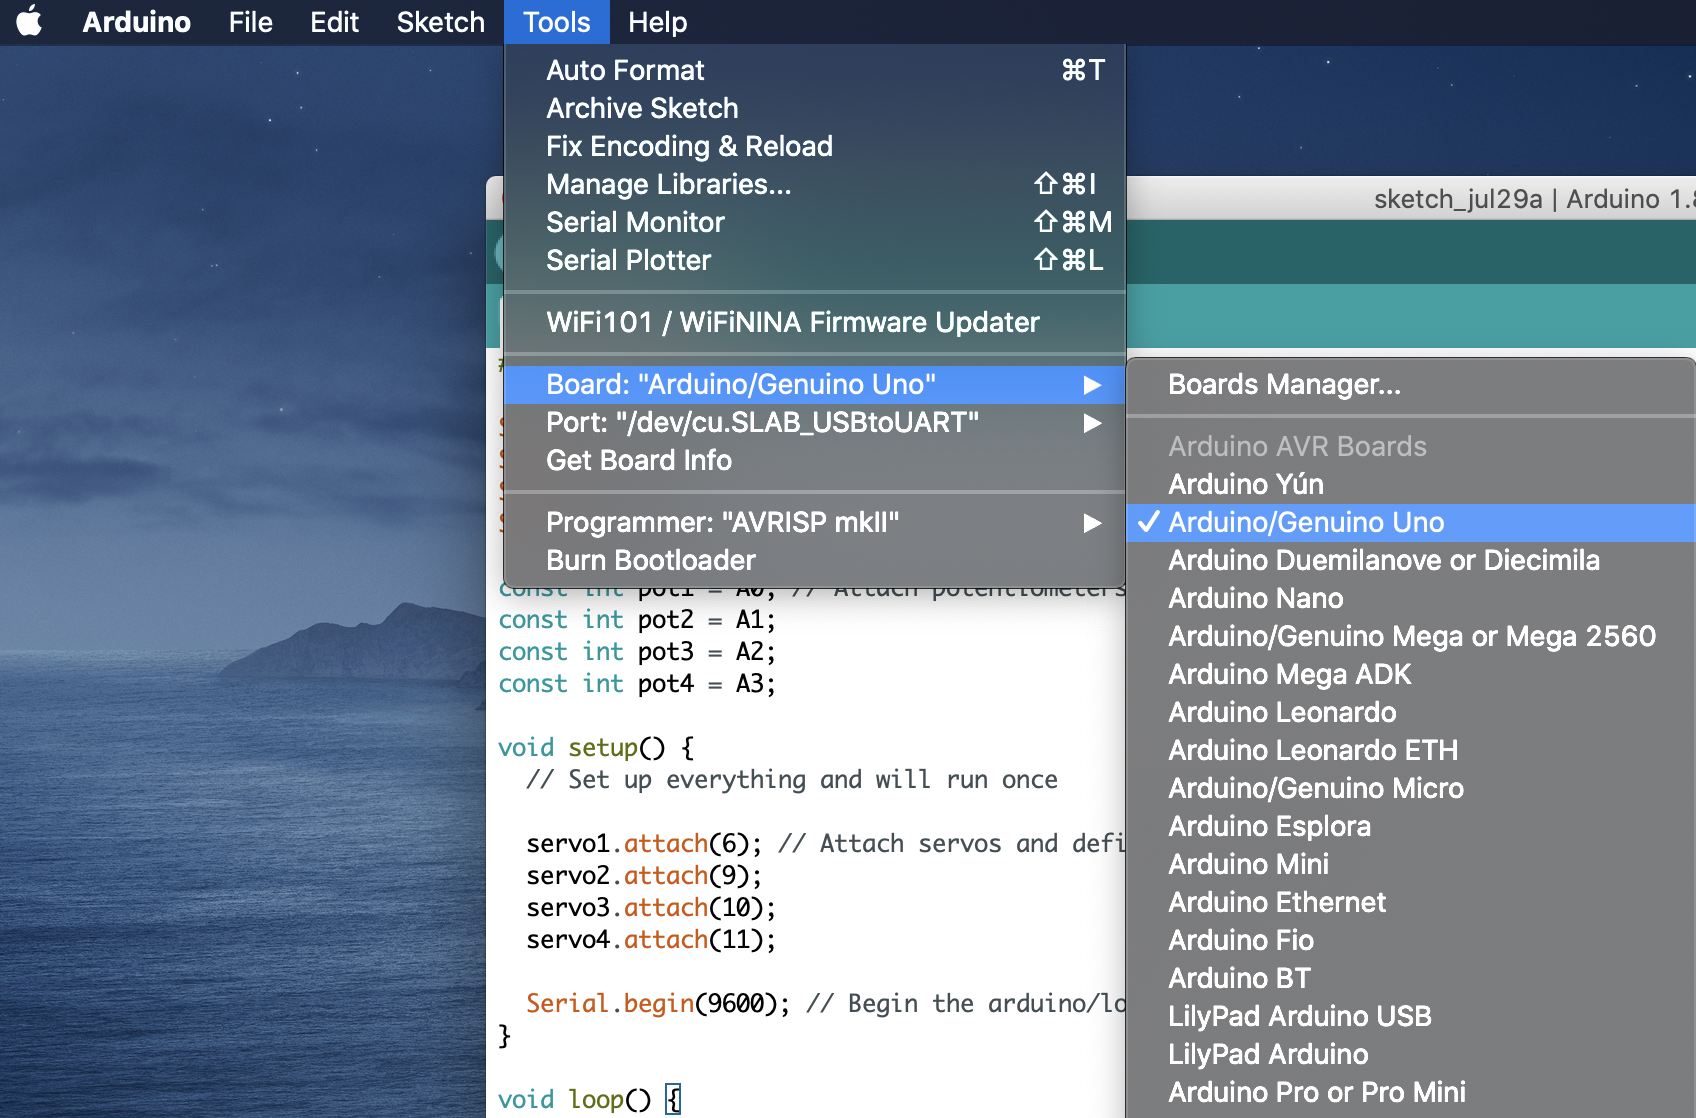
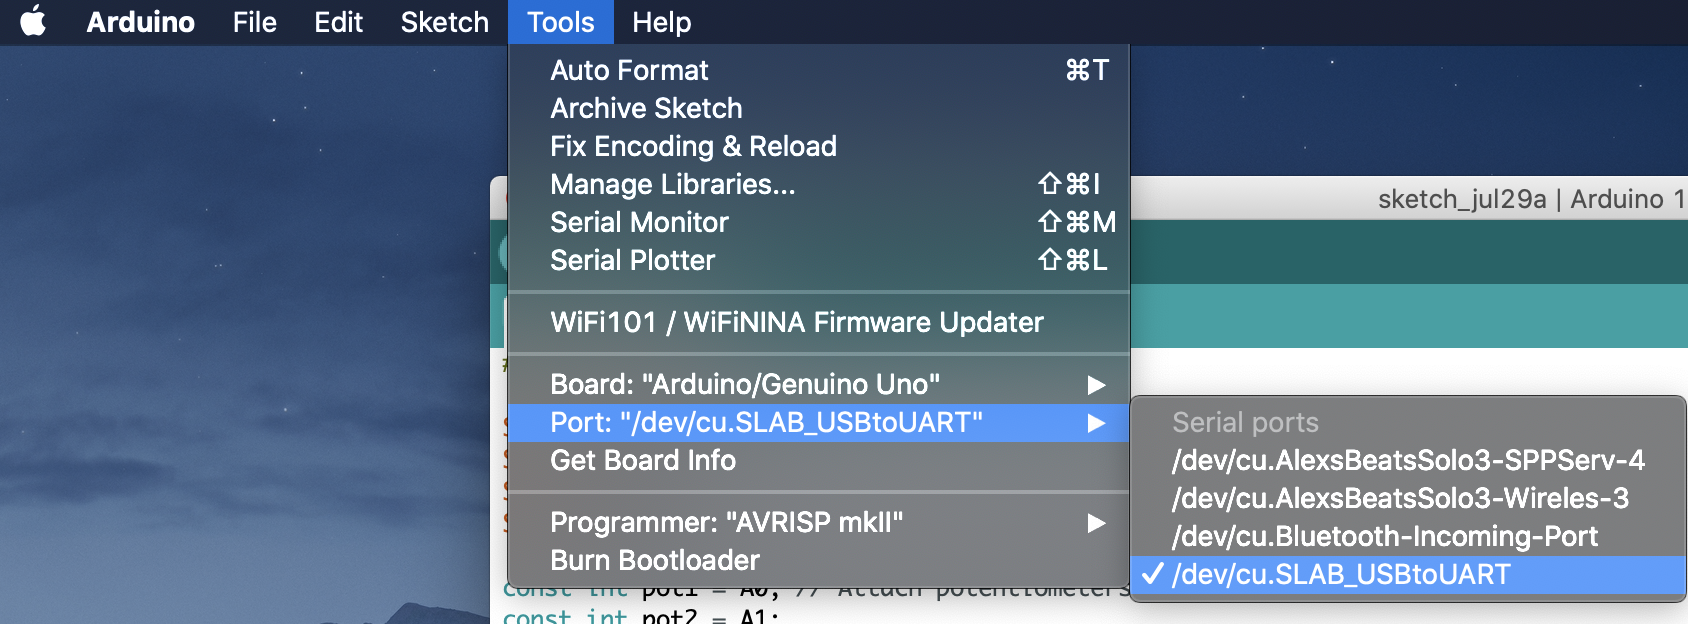
C: Connect Arduino and Select Port
Connect you Arduino to your computer via a USB cable. Go to Tools > Board and make sure “Arduino/Genunio Uno” is selected. Then go to Tools > Port and select the appropriate port. The correct port might contain: “USB”, “COM”, “Arduino”. If you are struggling with this step, you may reach out to us.
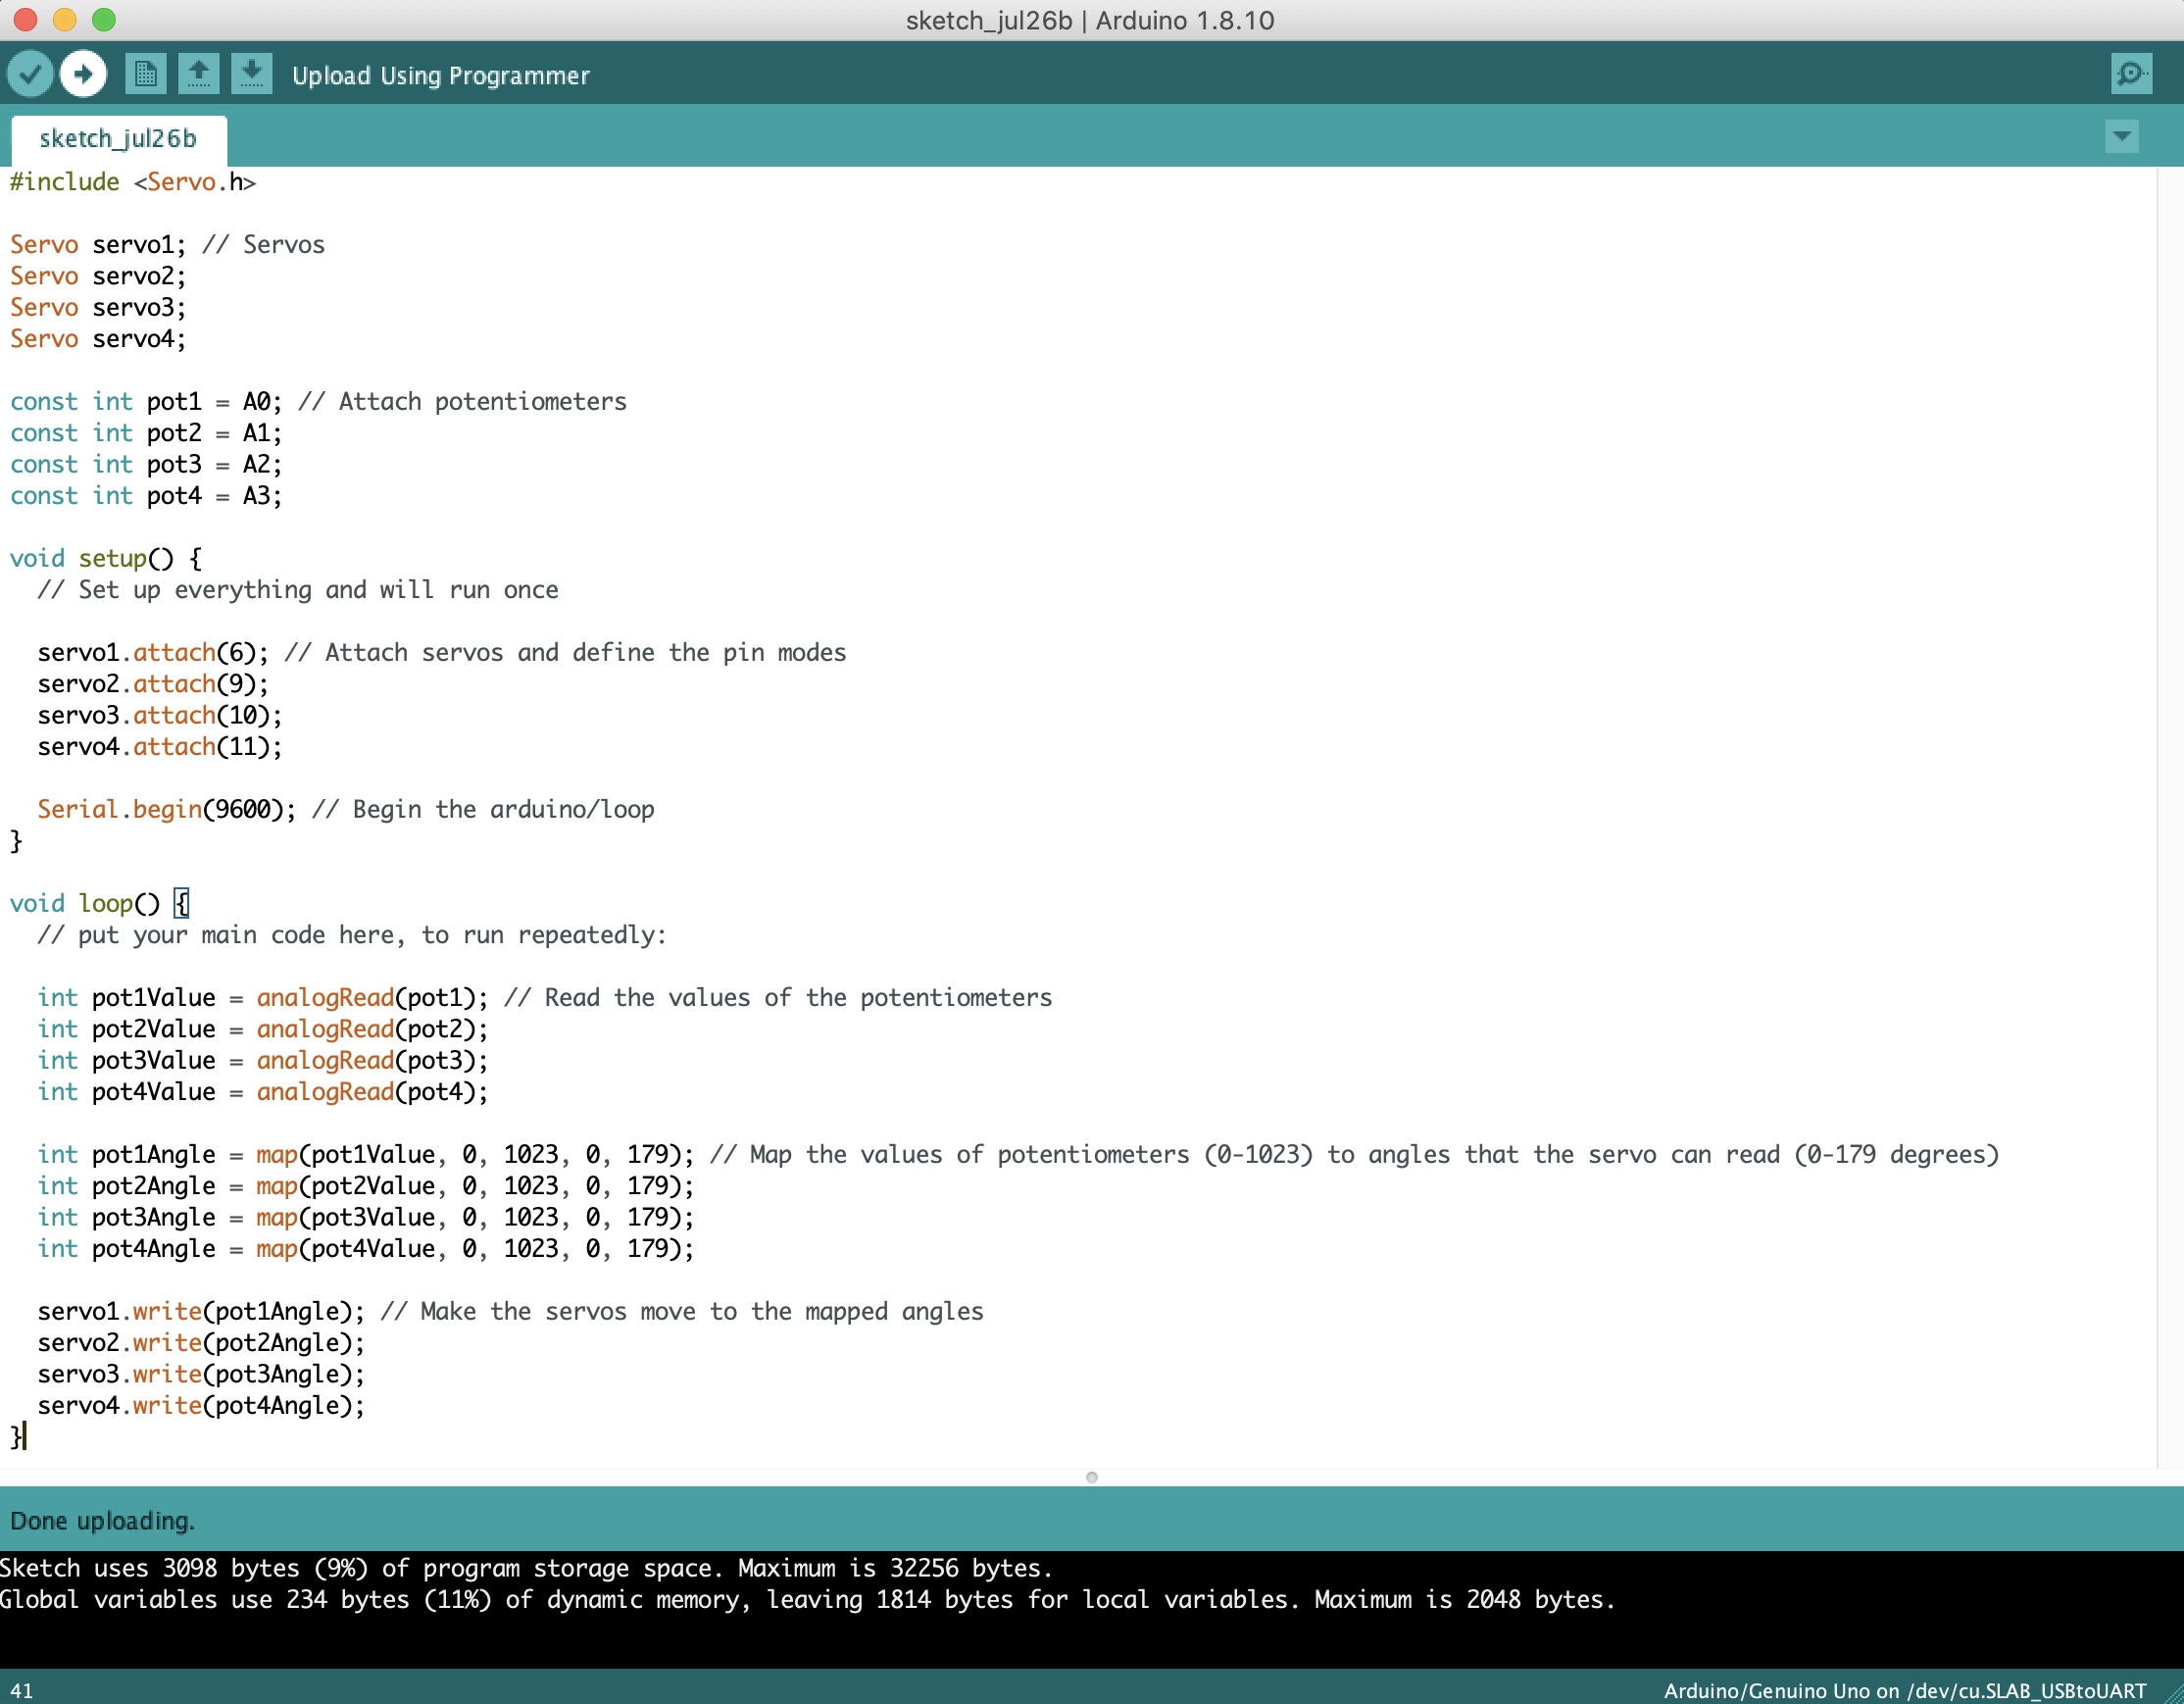
D: Upload the Code
Upload the code to your Arduino by clicking the arrow button on the top left of the editor. If there are any errors, delete everything and re-copy paste. If there are still errors, make sure you have the right board and port selected.
6
We’re Done!
To use, simply turn a potentiometer to turn one joint in the robotic arm! The gripper can only turn about halfway so make sure you don’t try to turn the servo further than it should!
Troubleshooting
A: Nothing is Moving
- Make sure the battery pack is on and the Arduino is plugged in.
- Double check the circuit to make sure everything is connected correctly.
B: A servo isn’t Working
- Try pressing the reset button on the Arduino. Sometimes the servo stops working if its been pushed too far.
- The servo may be dead, try replacing the wires with the wires of a working servo to see if this servo is working.
C: A Servo is Jittery
- The servo may be bearing too much weight. Try adding a capacitor to the wiring of the servo.

Awesome Tutorial!