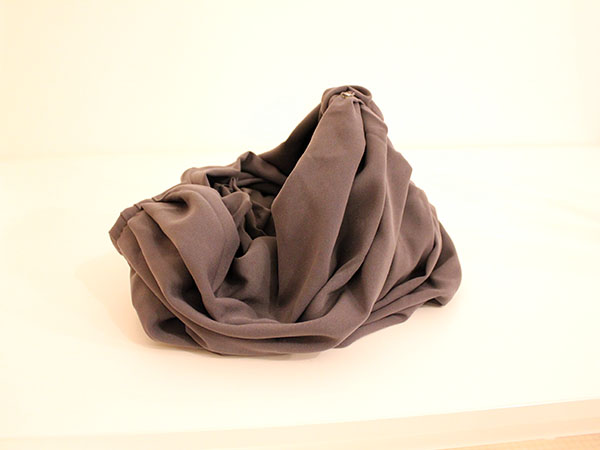
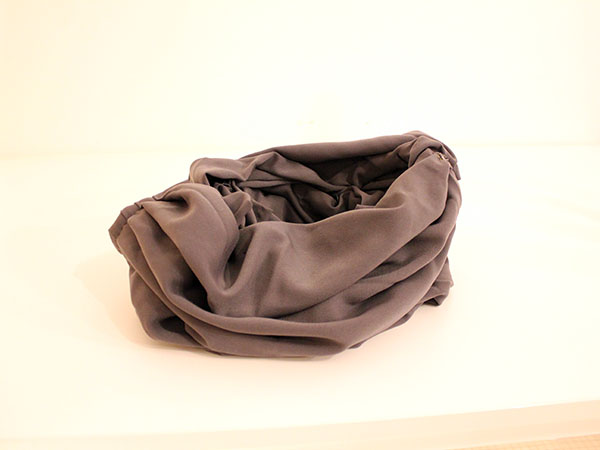
The AutoFilter is a robotic scarf that responds to pollution data by covering the face of the wearer.

Difficulty Level: Beginner/Intermediate
Supplies
1.Make the Structure
2.Assemble the Structure
3. Wire and Program Your Scarf
4. Add the Cloth.
(note: if you don’t know where to buy these things, check out the resources page)
-2 small servo motors or hobby motors, 3-6 v
-1 pollution sensor, I used this one in this version, but I’m planning to upgrade to this one, but I haven’t had time yet 🙂
-1 Arduino Uno
-1 battery pack that holds 4 AA’s, to give 6 volts.
-1 9 volt battery clip
-1 blank pcb board for soldering
-1 breadboard for testing
-10-15 jumper wires for soldering and testing
-Soldering iron and solder
-18 x 24″ piece of plexi glass, cardboard, or other stiff material that you can cut with a knife of laser cutter.
-1-2 meters fabric of your choice.
-Access to a laser cutter is helpful
Step 1: Make the structure of your scarf
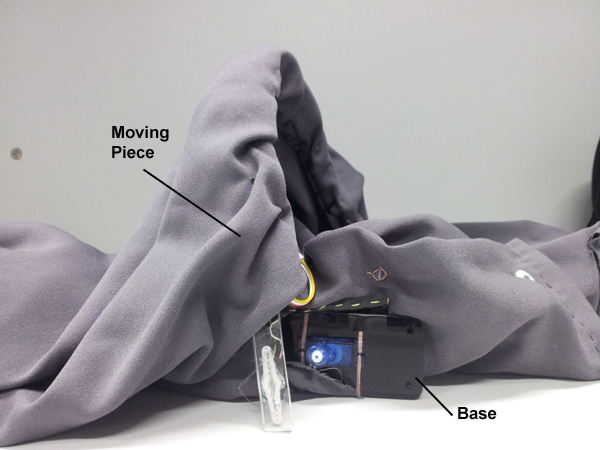
The structure of your scarf consists of two parts, a base to hold the motors stationery, and a moving piece which lifts the scarf up and down.

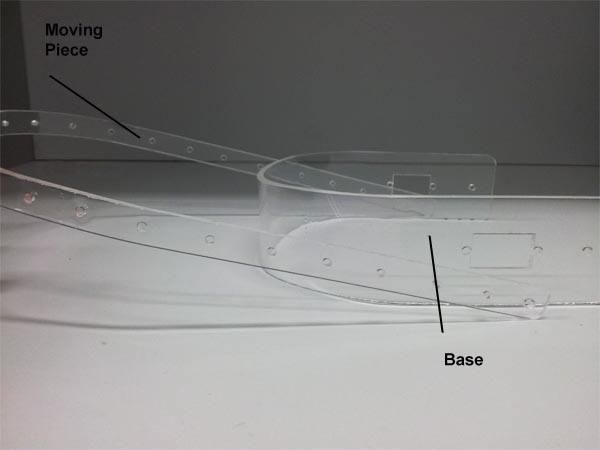
These components need to be relatively sturdy, which is why I laser cut them out of acrylic, but I think you could achieve the same effect by using a heavy mat board and duct tape or glue to keep the shape. These pieces won’t be seen, so they don’t have to be pretty.
Measure and draw the two pieces flat, before cutting them out and bending them. Check out my sketch as a reference, or feel free to download the illustrator sketch
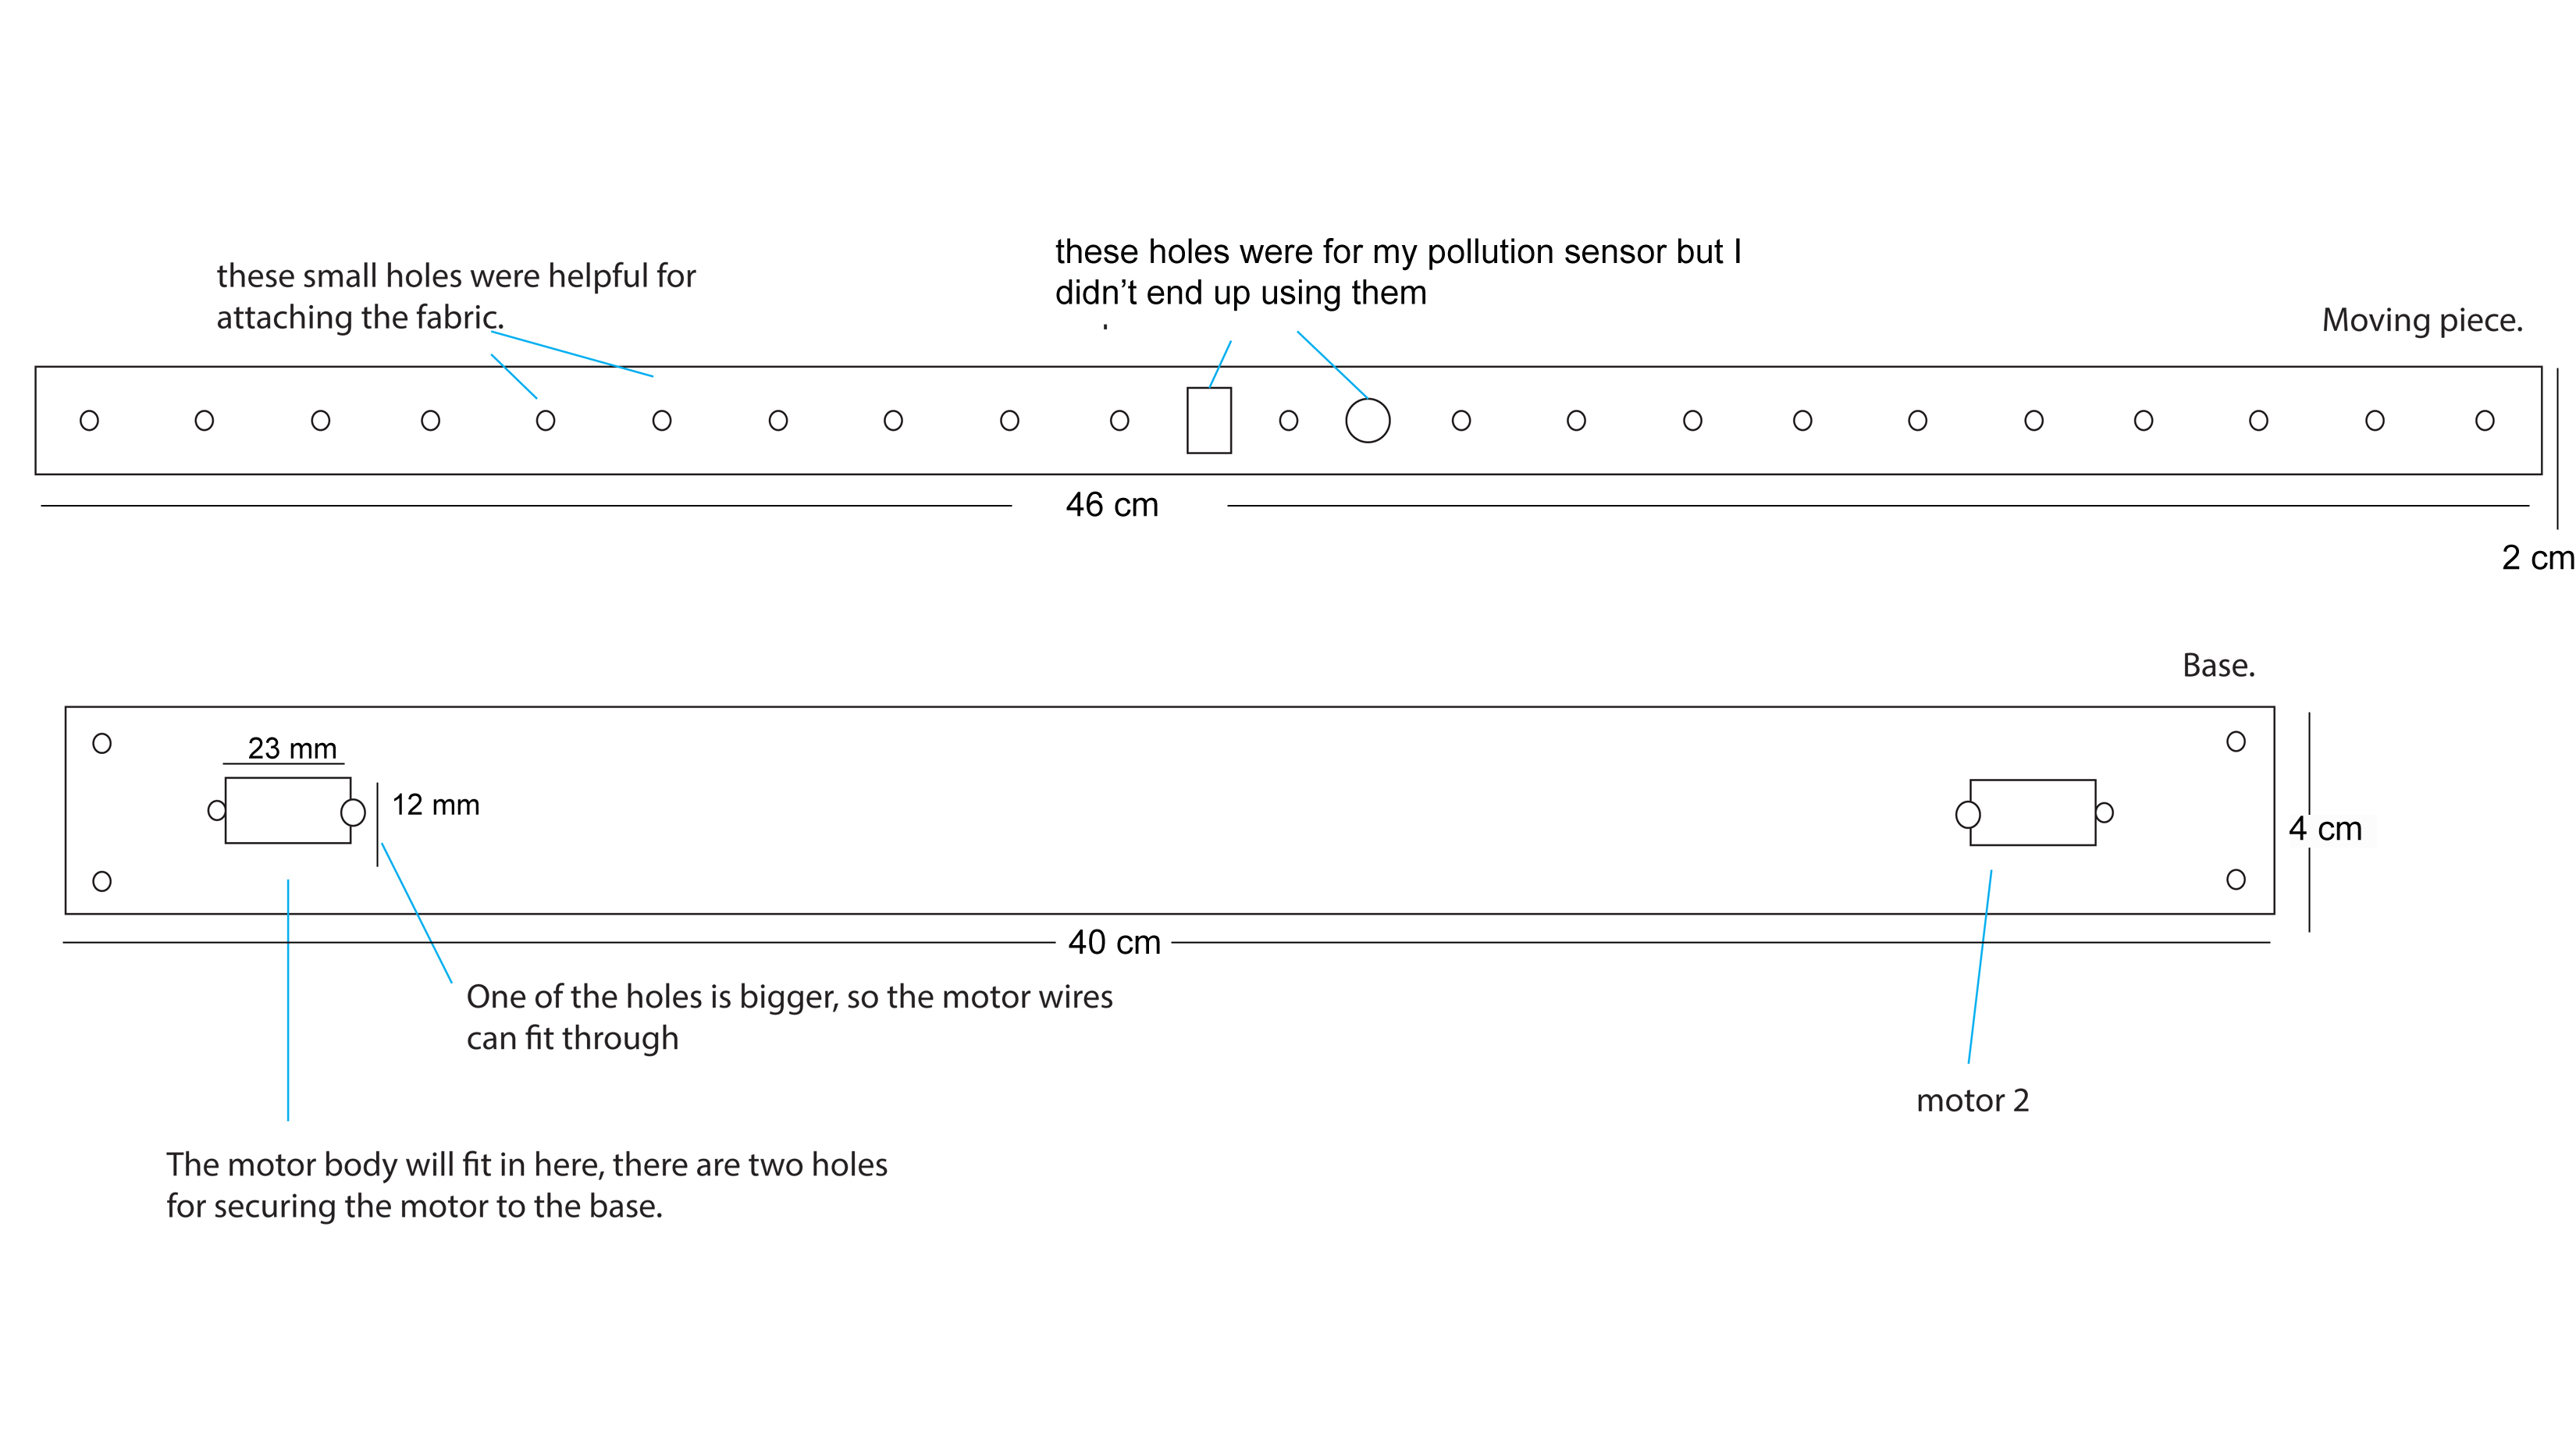
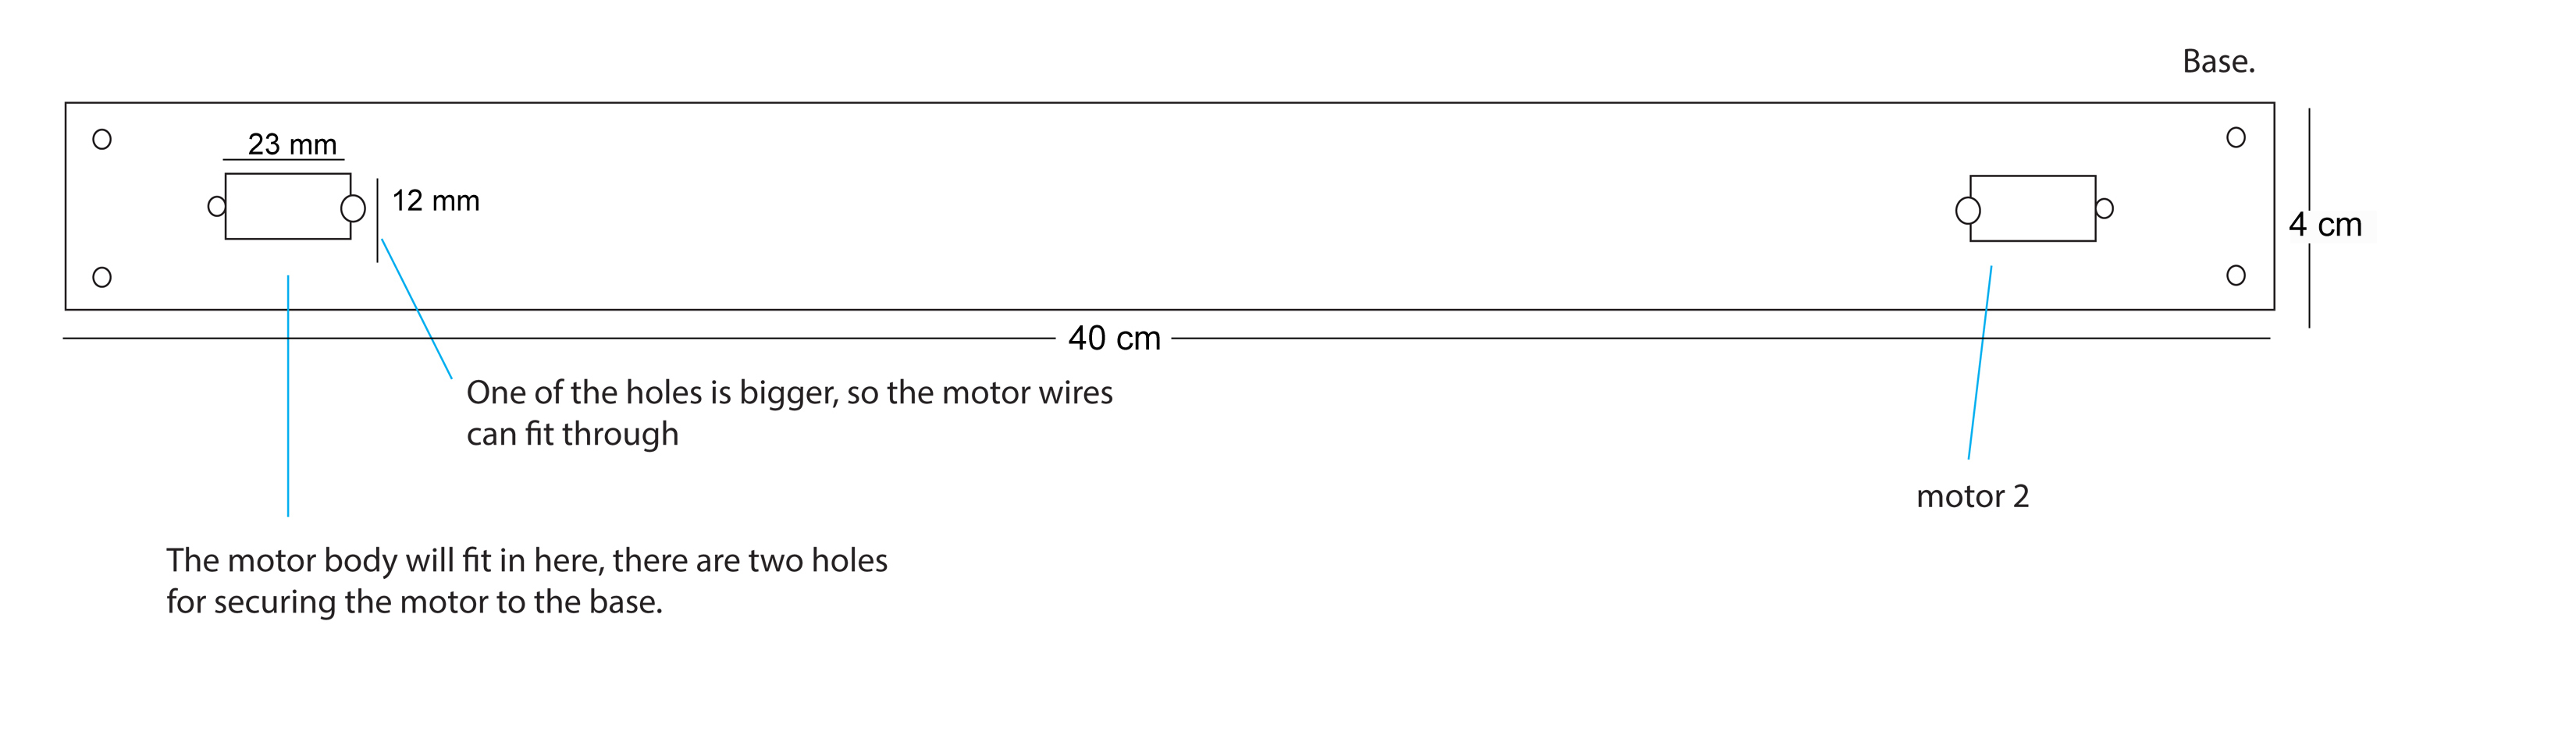
1. Base:
– Measure your neck. The base piece will sit on your chest, measure how far you want it to come out from your neck. I made it 40 cm long, by 4 cm tall. It needs to be tall enough to fit the motors.
– Measure your motors, be exact. Don’t include the overhang mount in your measurement. My tower servo motors are 23 mm x 12 mm.

Draw two rectangles on either end of the base piece. Include two holes for mounting, with one hole bigger for wires.
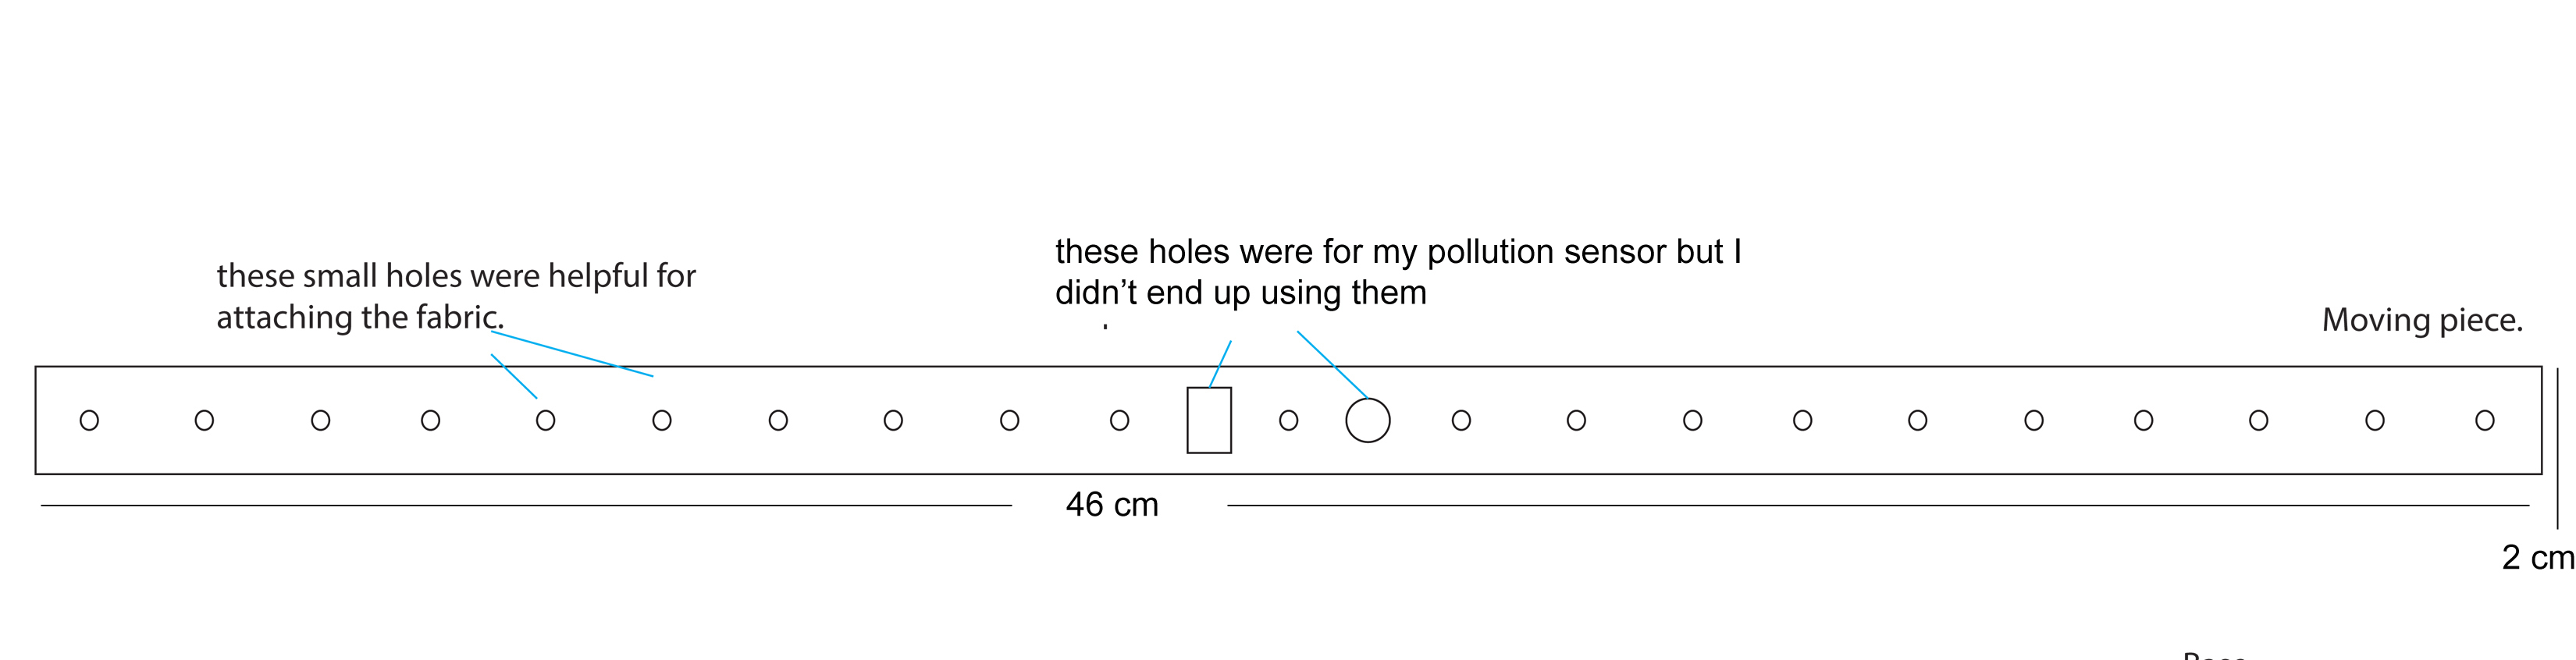
2. Moving Piece:
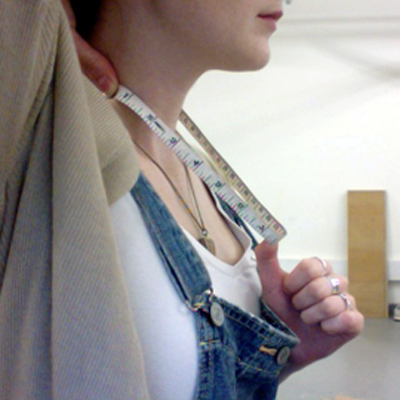
-Measure the distance between your shoulders and nose. The top piece will cover your face, you want it to be fairly accurate to avoid covering your eyes. I made it 46 cm long, by 2 cm thick.
-Draw holes on both ends of the top piece, for connecting it to the base. I added holes all through out the top piece, because I found it helpful for sewing it to the cloth.
3. CUT both pieces out. Again, it’s easiest if you can find a place to laser cut it, but if not, you can always use an exact-o knife.
Check to make sure your motors and sensor fit in the holes you made.
4. Bend the material into a semi-circle. Because I used acrylic, I did this with a heat gun, be sure to wear gloves ! If you are using cardboard, it may be helpful to score the back of the material, and wrap it with tape for strength. Check out this great site for tips on working with cardboard!
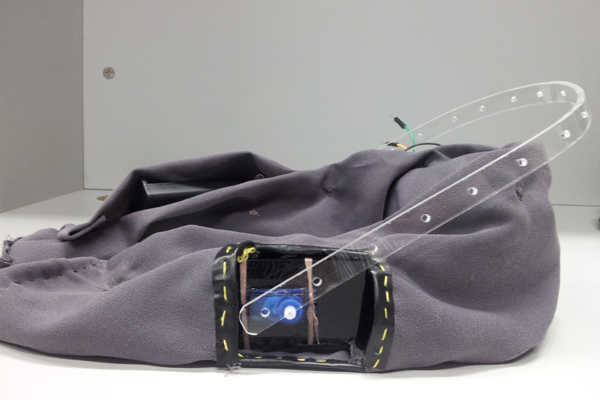
 <– the two bent pieces.
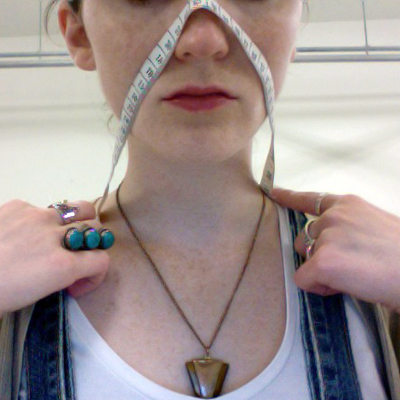
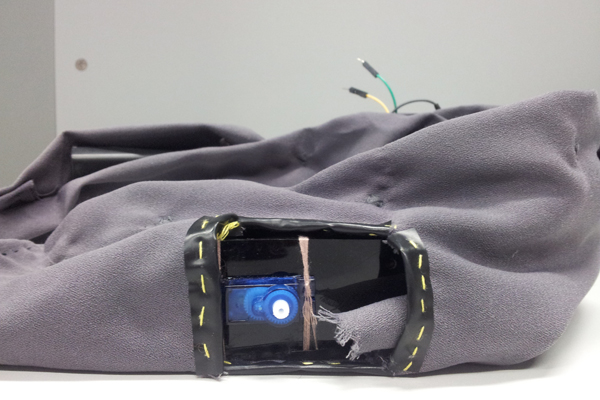
-Check the size. Once your material is bent into the right shape, hold it up to see how it fits your face, make adjustments as necessary. I decided to add an extra bend to help the top piece fit over my nose, you can see the shape in the photo below, (sorry the sensor and fabric are blocking a bit.)
Step 2: Assemble the structure of your scarf.
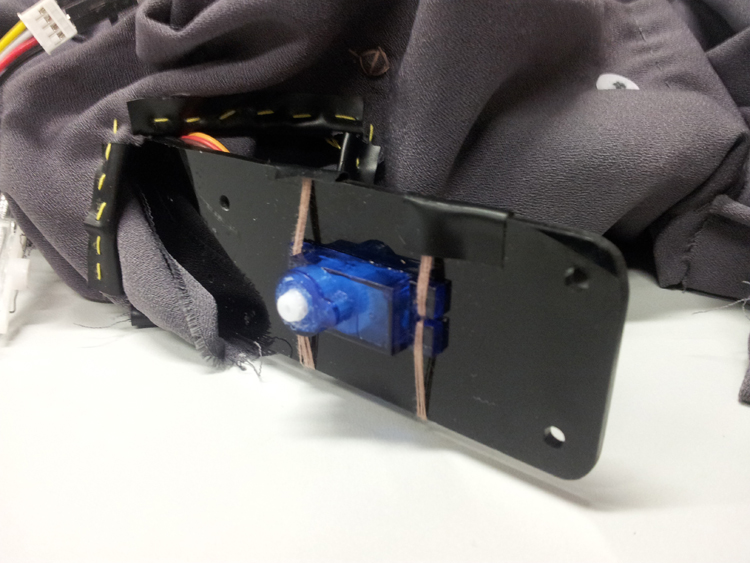
1. Fit the motors into the base and use wire or string to sew through the holes and secure the motors tightly.
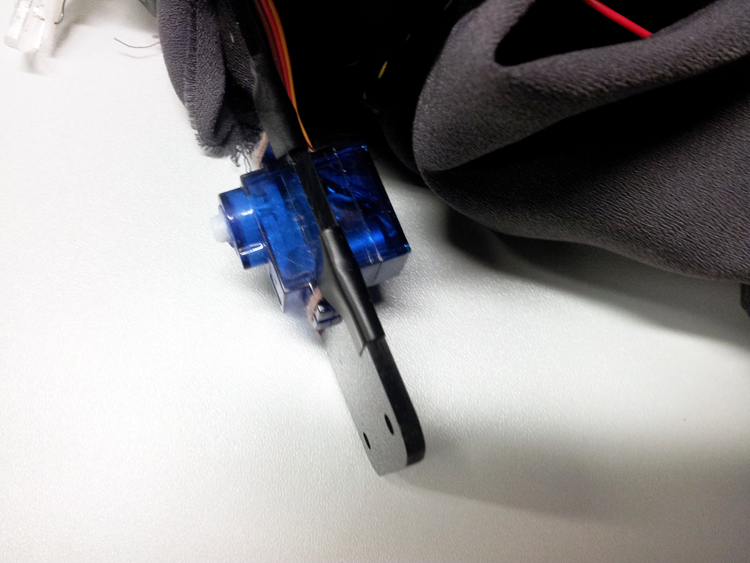
2. Servo motors come with different attachments, choose two and attach them to either end of the *moving piece,* using string or wire, I used wire.

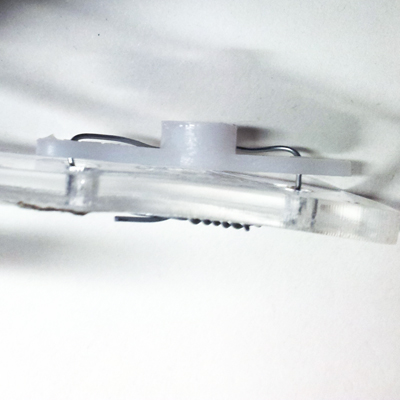
3. Pop the two attachments onto the 2 motors, connecting the top piece to the base. Check to see that you can move the top piece up and down.
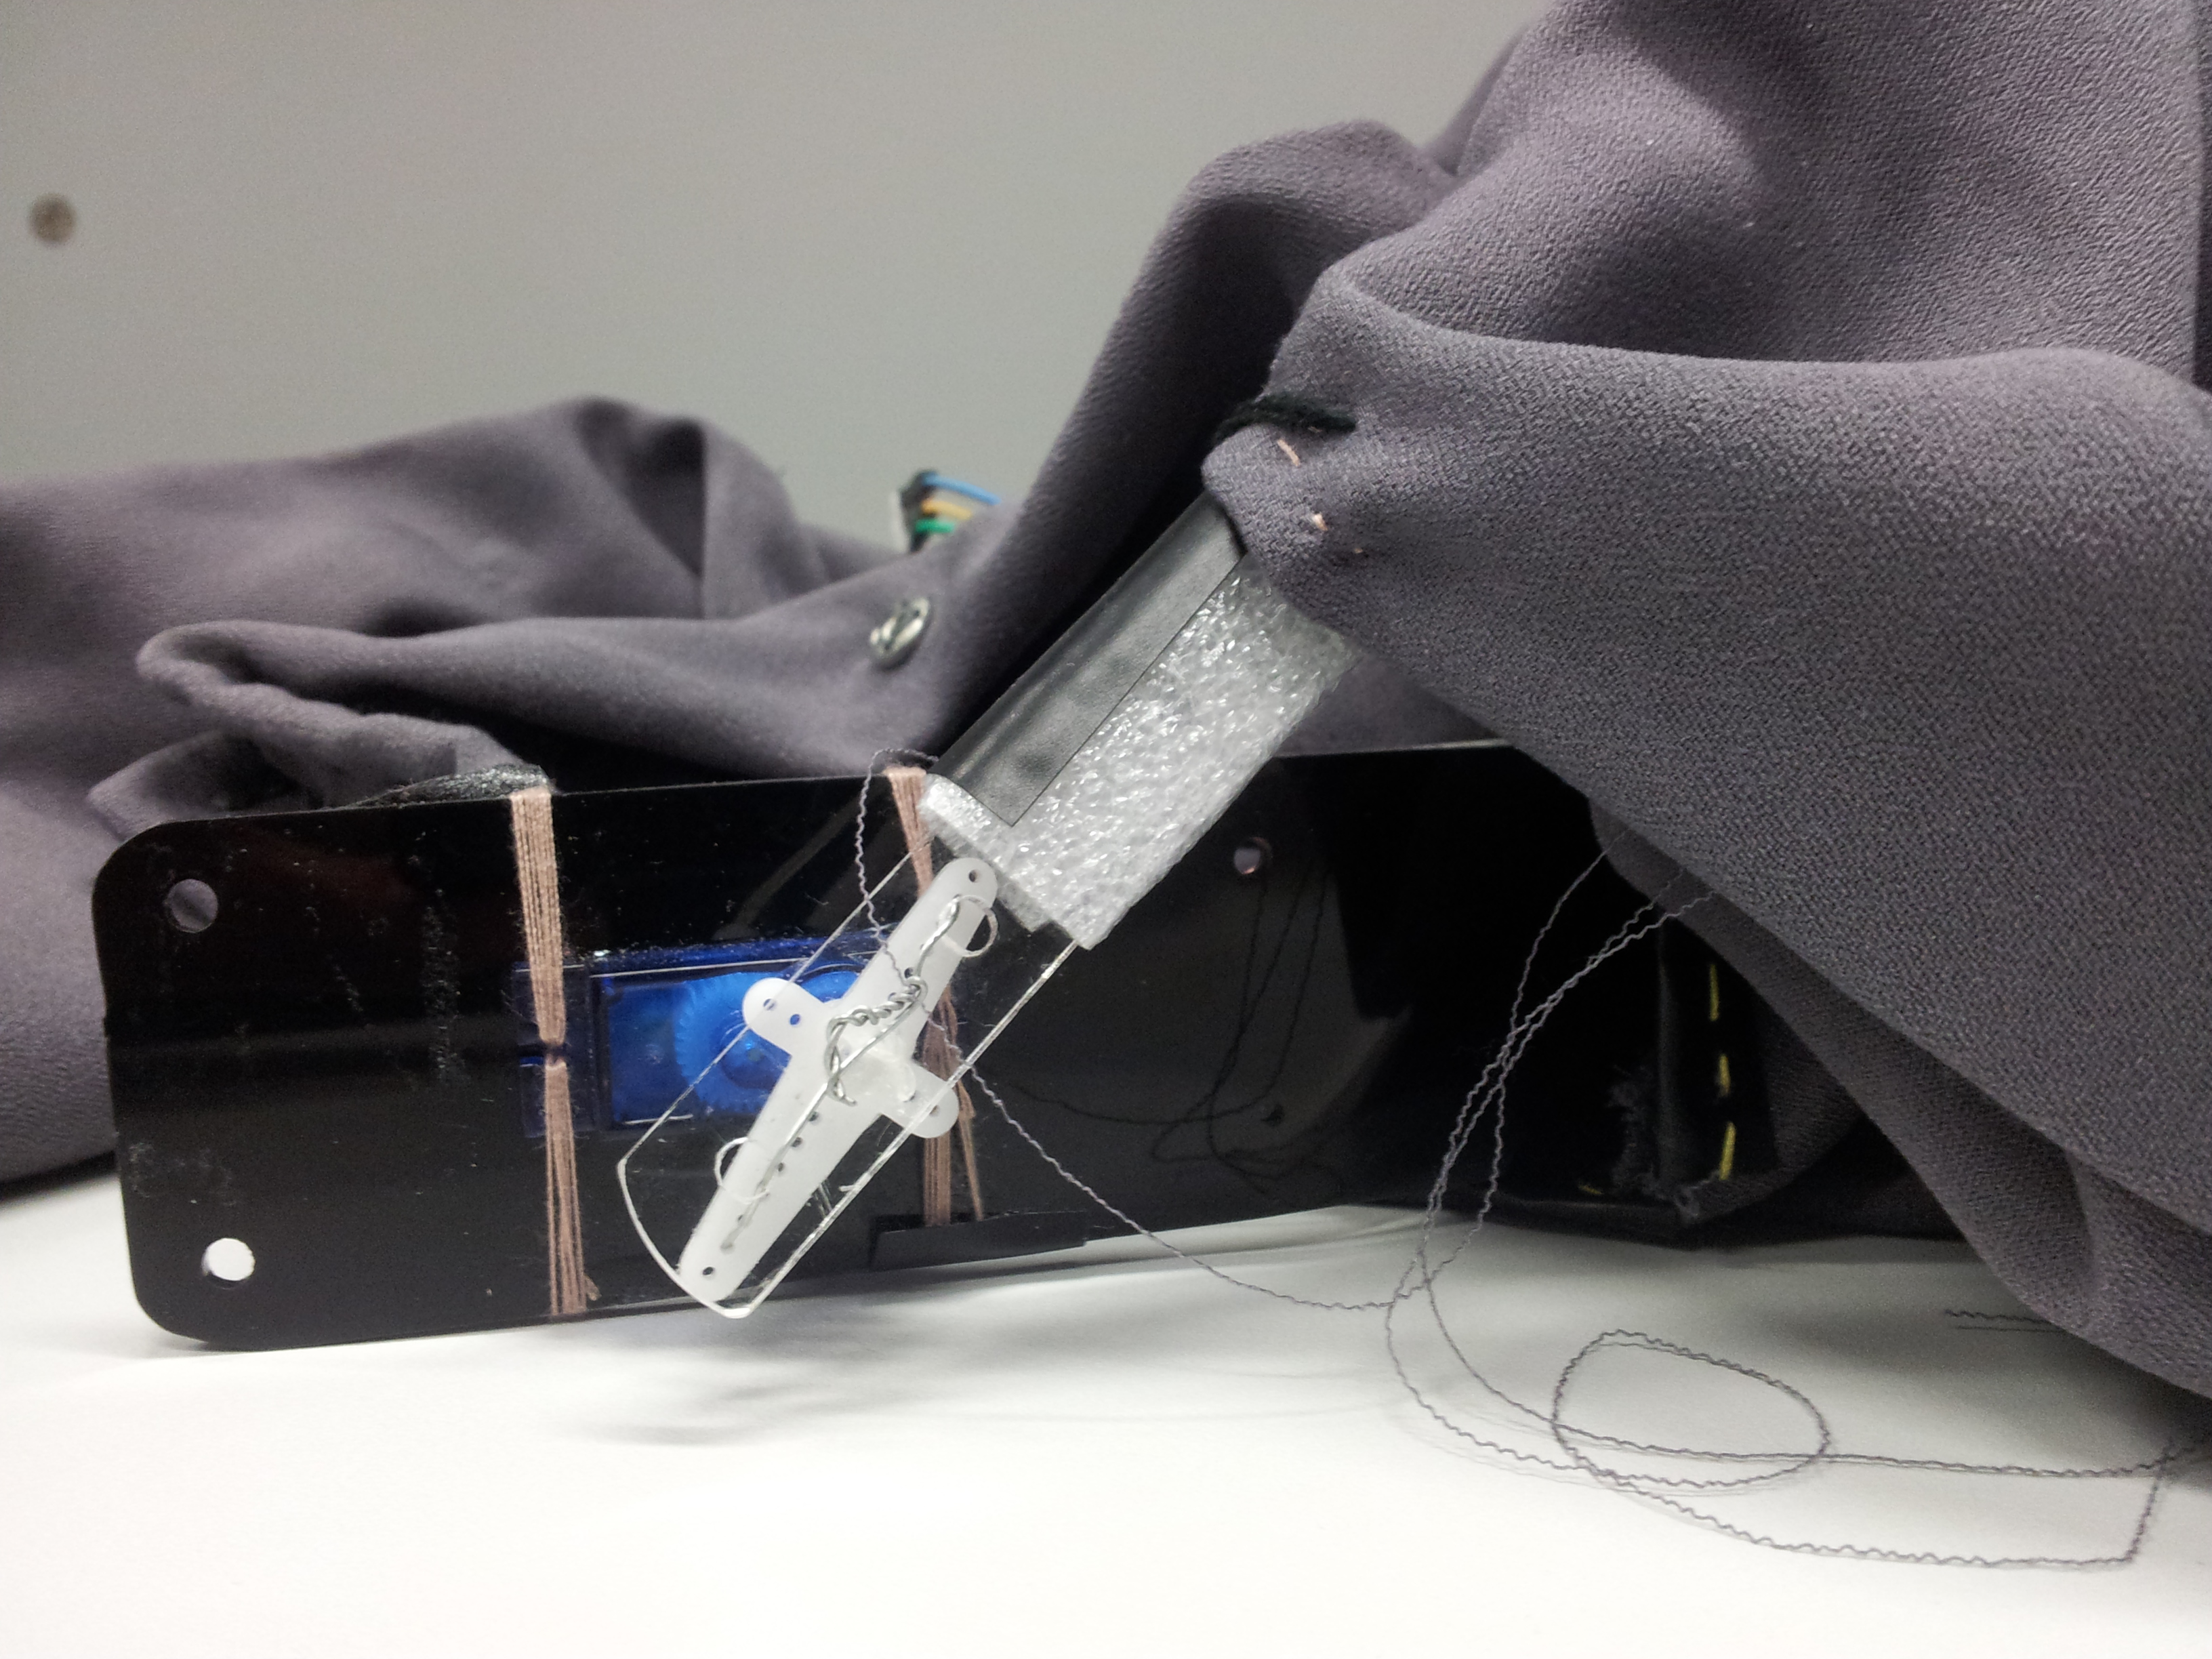
4. Wrap the top piece with something soft, like packing foam, because it’s going to make contact with your face, and you don’t want to get hurt.
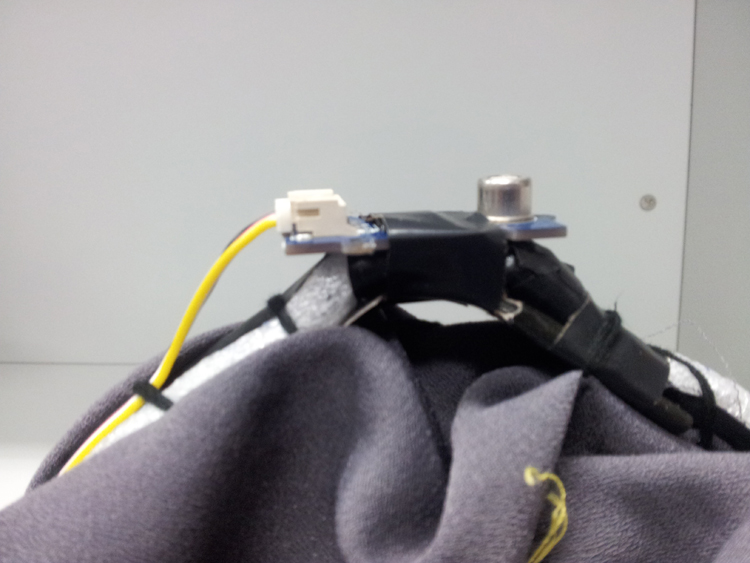
Attach the sensor to the top piece, I just used electrical tape wrapped around it.

Step 3: Wire and program your scarf
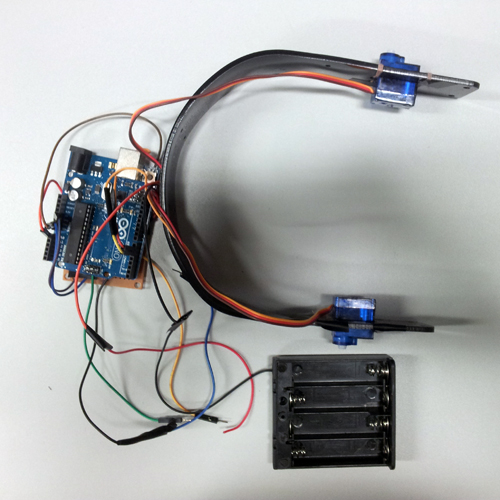
There are four main things to wire, 2 motors, 1 sensor, and a 6V battery pack. It’s necessary to use a separate battery pack to ensure that the motors get a steady power supply.
1.To get started, first connect everything to a breadboard, as in the picture below:
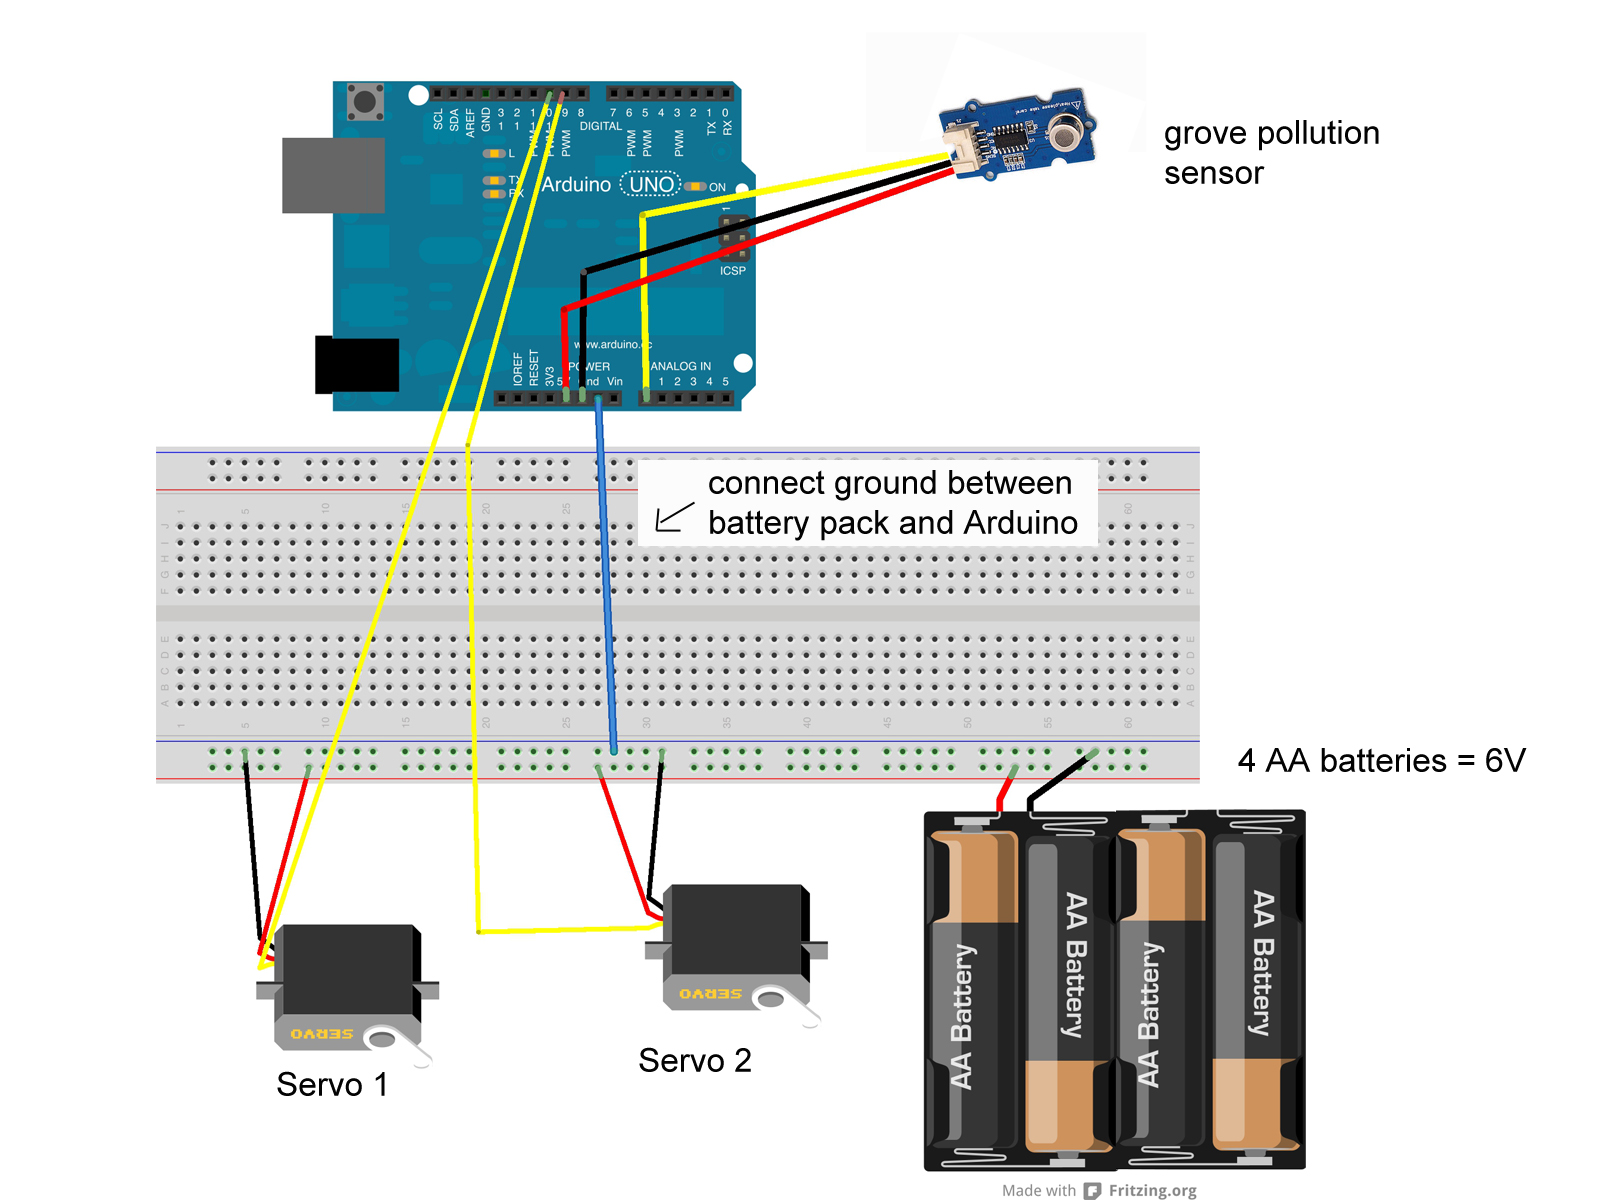
-Connect the positive and ground of the 6V battery pack to the power and ground rails on the breadboard. *connect the ground of the breadboard to the ground of the Arduino*
-Connect the power and ground of the servos to the breadboard. Connect the communication pins to Digital pin 10 and Digital pin 9.
-Connect the power and ground of the sensor directly to the power and ground on the Arduino. (The Arduino has two ground pins). Connect the communication pin to Analog pin 0.
2. Code
The logic of this code is very simple, “if pollution is detected, move the servos.” I found that I didn’t need to move my servos a full 180 degrees, 100 degrees was enough to allow the scarf to reach my face.
I’ve included my sketch below, but it is specific to the Grove Sensor, feel free to link to your own code in the comments, if you write something more sophisticated or use a different sensor!
You can download the sketch. Or copy the code below.
Don’t forget to download the air quality library
/*
AirQuality Demo V1.0.
connect to A1 to start testing. it will needs about 20s to start
* By: http://www.seeedstudio.com
*/

#include<Servo.h>
#include "AirQuality.h"
#include "Arduino.h"
AirQuality airqualitysensor;
int current_quality =-1;

void setup()
{
Serial.begin(9600);
airqualitysensor.init(14);
myServo.attach(9);
myServo2.attach(10);
}

void loop()
{
current_quality=airqualitysensor.slope();
if (current_quality >= 0)// if a valid data returned.
{
if (current_quality==0)
Serial.println("High pollution! Force signal active");
else if (current_quality==1)
Serial.println("High pollution!");
else if (current_quality==2)
Serial.println("Low pollution!");
else if (current_quality ==3)
Serial.println("Fresh air");

if(current_quality<=2){
myServo.write(180);
meServo2.write(0);}

else{
myServo.write(80);
myServo2.write(100);
}
}
}

ISR(TIMER2_OVF_vect)
{
if(airqualitysensor.counter==122)//set 2 seconds as a detected duty
{

airqualitysensor.last_vol=airqualitysensor.first_vol;
airqualitysensor.first_vol=analogRead(A0);
airqualitysensor.counter=0;
airqualitysensor.timer_index=1;
PORTB=PORTB^0x20;
}
else
{
airqualitysensor.counter++;
}
}
Once you have your code all sorted out, connect your Arduino to computer via usb and upload it. (If you don’t know how to do this, check out some of the Arduino tutorial sites on the Resources page).
3. Testing.
Testing this sketch can be tricky, because you need pollution to know it is working! I found that my sensor was set off by alcohol, so I put some alcohol on a cotton ball and held it close to activate it. Avoid touching your sensor directly though.
If you don’t know what compounds set off your sensor, check the data sheet on the supplier’s website.
If your sketch is not working, you need to isolate the problem. Try testing the motors and sensor separately. You can use the Serial.println() function to write messages to your serial, use this as a way to see if your pollution sensor is working.
Example:
if (current_quality>=1){
Serial.println(“High pollution!”);
}
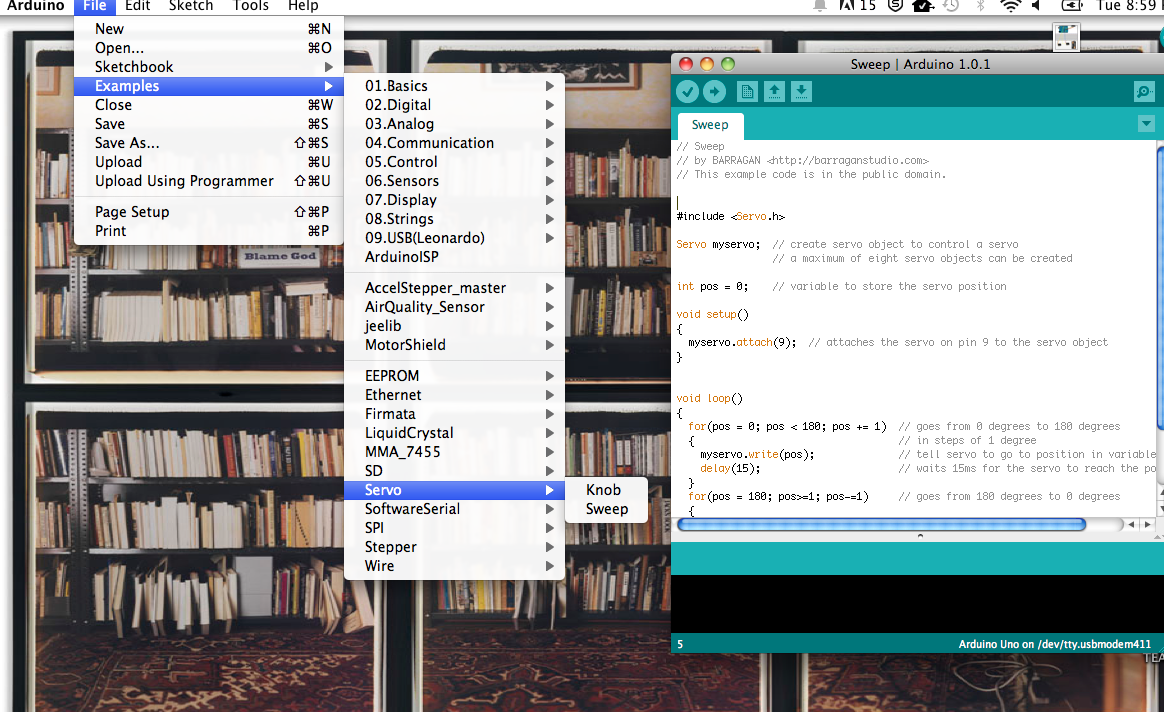
If you are having trouble with your motors, try testing them with the servo examples that come with the Arduino program. These are under File–>Examples–>Servo
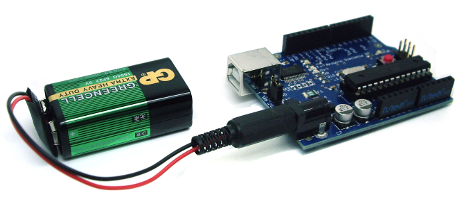
-Once your sketch and electronics are working properly, disconnect the Arduino from the usb, and plug it into a 9V battery clip. Verify that the program still works properly.
4. Solder:
The breadboard is big and the wires can easily slip out of it. You will want to solder your wires onto a pcb board, like the ones below, to make your piece more durable.
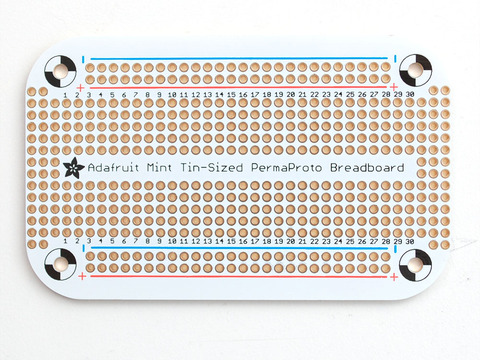
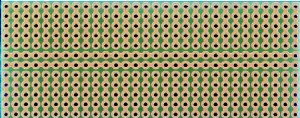
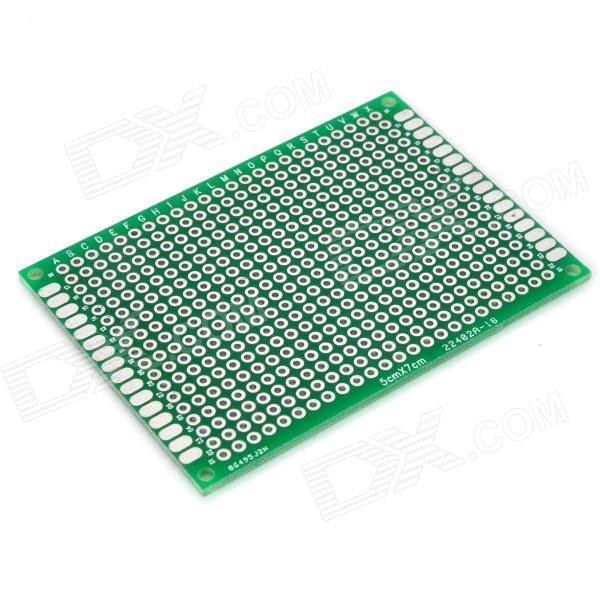
There are many types of pcb boards out there. As you can see in the first picture, you can buy a pcb which looks like your breadboard, with power and ground rails. The second pcb pictured also has two connected rails that you could use for power and ground, they are just not labelled. The third pcb has no connected points, so you will have to make all your connections with solder and wire. This requires a little more skill.
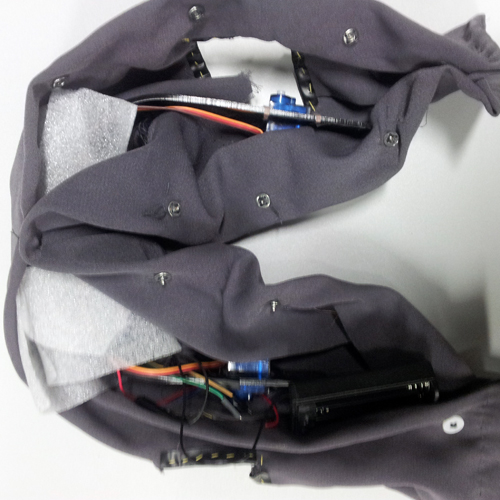
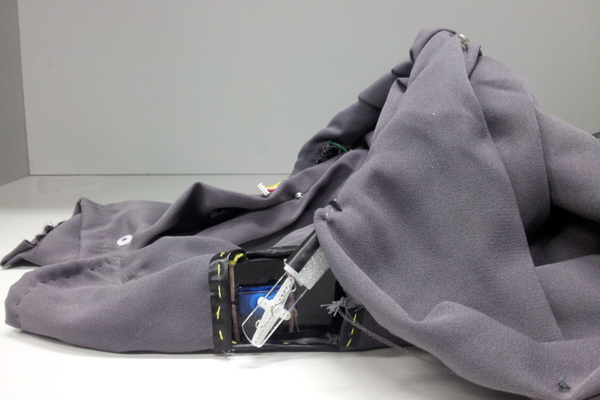
Before you start soldering, decide where you will be hiding your Arduino and battery pack, and make sure all your wires are long enough to reach. I hid my Arduino in the front of the scarf, and battery pack on the left side. Don’t forget to use longer wires for the sensor, because it will be on the moving piece!
After soldering, test it again! If it doesn’t work, check your connections, make sure your ground and power rails are properly isolated.
The cloth will happen in two parts, the base cloth and the moving piece cloth.
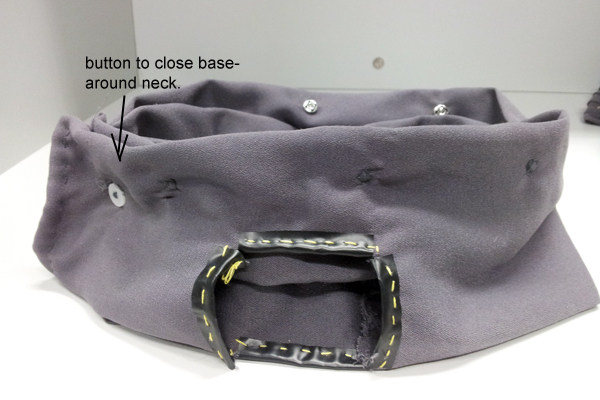
1. The base cloth will hold all the electronics, (except the sensor), so it needs to be easy to open. I simply took a long piece of fabric and sewed snaps on either side so that I can open and close it easily. Then I cut holes into the side to clear lots of room for the motors to attach to the moving piece:
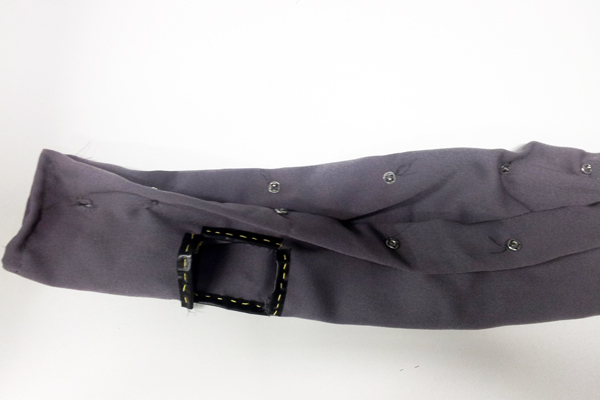
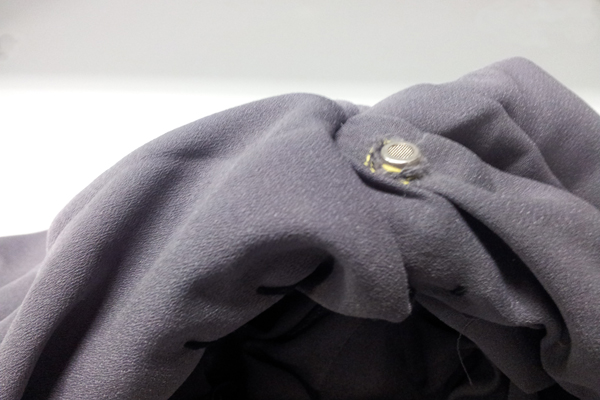
2. When everything is loaded into the base piece, it is a little heavy. I added a button to the back so that it can close around the neck and take the weight.
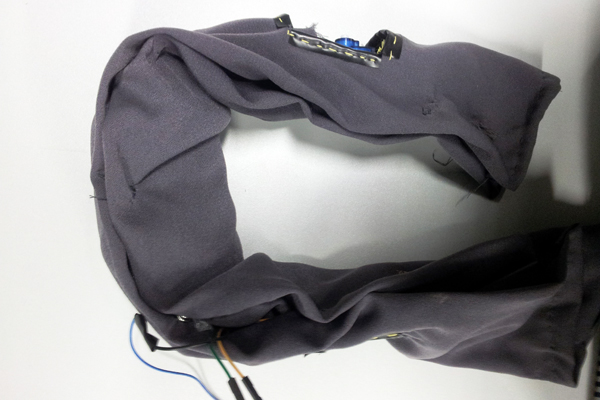
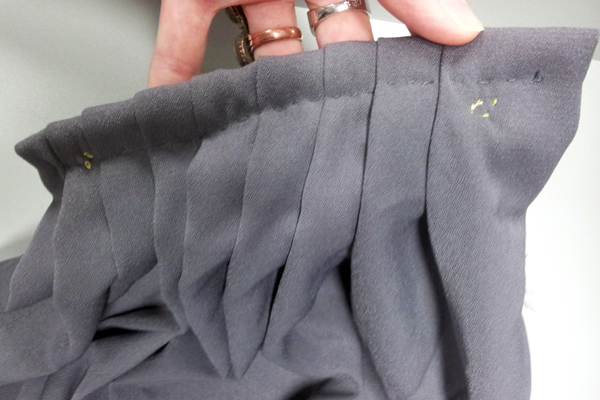
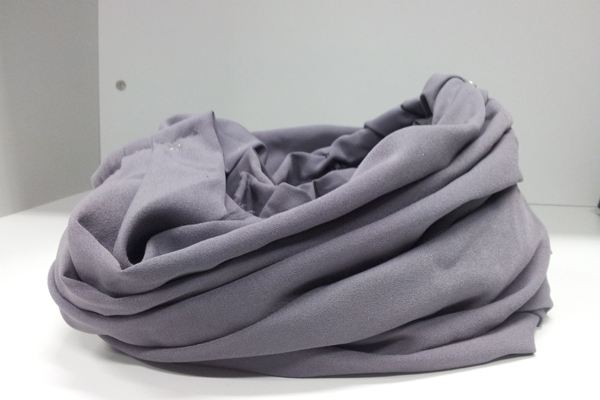
3. The fabric for the moving part of your scarf. This will be the fabric that is most visible, so now is when to get creative! I decided to fold mine to make pleats, because I thought it would look nice with the movement. I bet a patterned fabric would also look nice.
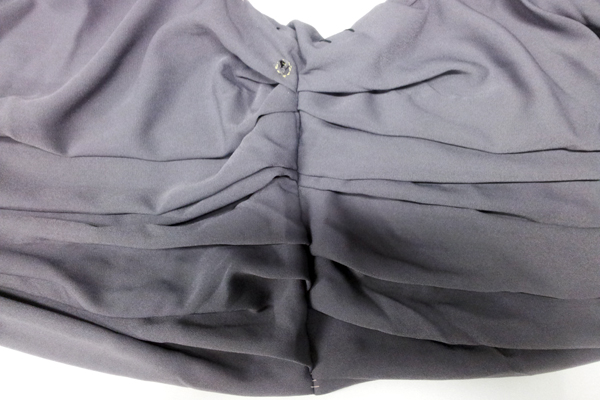
It’s basically just a long strip of fabric with snaps at the end to secure it around the neck. Check to make sure fabric is tall enough to stretch over your face. Also, try to find a relatively light fabric to keep the weight off the motors.
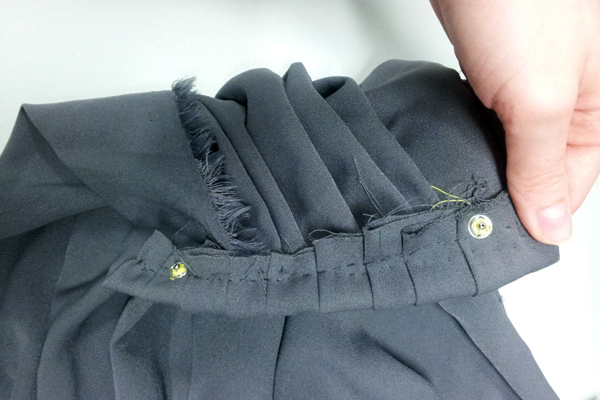
4. Secure the fabric to the moving piece. You want to sew it around the moving piece to conceal the structure. Be sure to add a hole for your pollution sensor to fit through.

I found I only needed to sew the fabric to the top piece, there is no need to secure the bottom to the base, because the weight of the fabric will keep the bottom in place. Once you close it up, the electronics are very discreet!
That’s it! This is my first tutorial so I apologize if anything is unclear. Please let me know your experience in the comments. Good luck! Comments are living on their own page here: Auto Filter Comments